It was a Tuesday night, the kind of night where your fridge looks like a crime scene and your dessert cravings feel like a rebellious teenager demanding attention. I had just finished a week of bland salads, overcooked chicken, and the eternal mystery of a single stale bagel that refused to be redeemed. In that moment, I pulled out the one recipe that had been hiding in my pantry, tucked away in a dusty jar of raspberry jam, and decided it was time for a change. The thought of something that could turn a boring kitchen into a carnival of aromas made my heart race.
Picture this: the buttery scent of melted chocolate dancing with the sharp tang of raspberry as it drips into a glass of milk. The sound of a cookie sheet humming under a hot oven, the faint pop of butter as it hits the pan, the soft crackle of a dough that’s just about ready to rise. The first bite—crisp edges giving way to a chewy center, the raspberry jam bursting like a tiny, sweet explosion, and a hint of dark chocolate that lingers on the tongue. I swear I could taste the memory of my grandma’s kitchen, the way she would let the batter rest, letting the flavors mingle like old friends at a reunion.
What makes this version stand out is that it’s not just a cookie; it’s a statement. The combination of unsweetened cocoa, raspberry jam, and semi‑sweet chocolate creates a flavor profile that is both bold and balanced, a perfect marriage of sweet and tart. The texture is a dance of crunch and chew, with the jam center giving a surprise burst that keeps you reaching for more. It’s simple enough that a novice can pull it off, yet sophisticated enough to impress the most discerning foodie. And the best part? It’s a crowd‑pleaser that will have everyone asking for the recipe before they even taste it.
I dare you to taste this and not go back for seconds. I’ve been told that the first bite will leave you in awe, the second bite will have you reaching for a third, and the third bite will make you question why you ever settled for ordinary. This isn’t just a cookie; it’s a passport to a world of flavor that you can enjoy in the comfort of your own kitchen. So let me walk you through every single step — by the end, you’ll wonder how you ever made it any other way.
What Makes This Version Stand Out
The secret lies in a handful of carefully chosen ingredients and a few clever techniques that elevate the humble cookie into a showstopper.
- Flavor: The combination of dark chocolate, cocoa powder, and raspberry jam delivers a layered taste that feels indulgent yet fresh.
- Texture: The cookies boast a crisp edge and a chewy center, a contrast that keeps each bite interesting.
- Ingredient Quality: Using high‑grade unsweetened cocoa and real raspberry jam rather than flavored spreads sets this recipe apart.
- Make‑ahead Potential: You can bake the cookies in advance and keep them fresh for a week, making them perfect for parties or last‑minute gatherings.
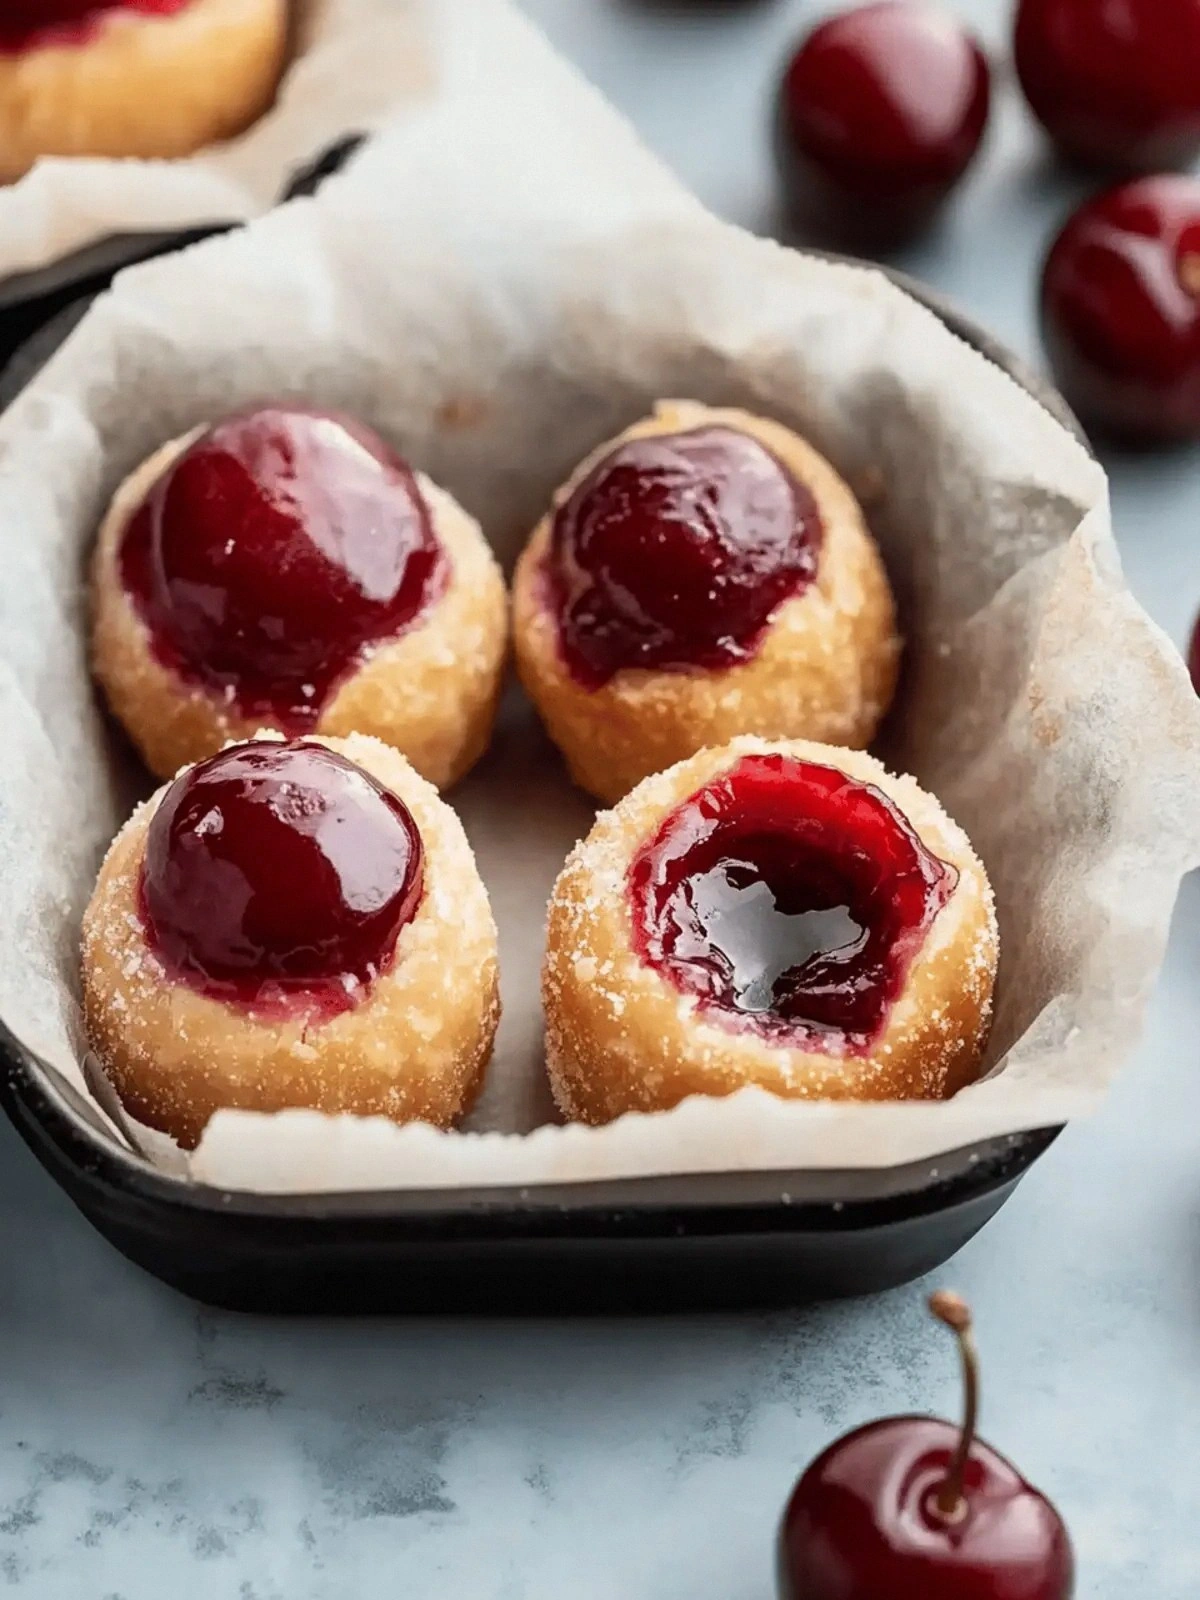
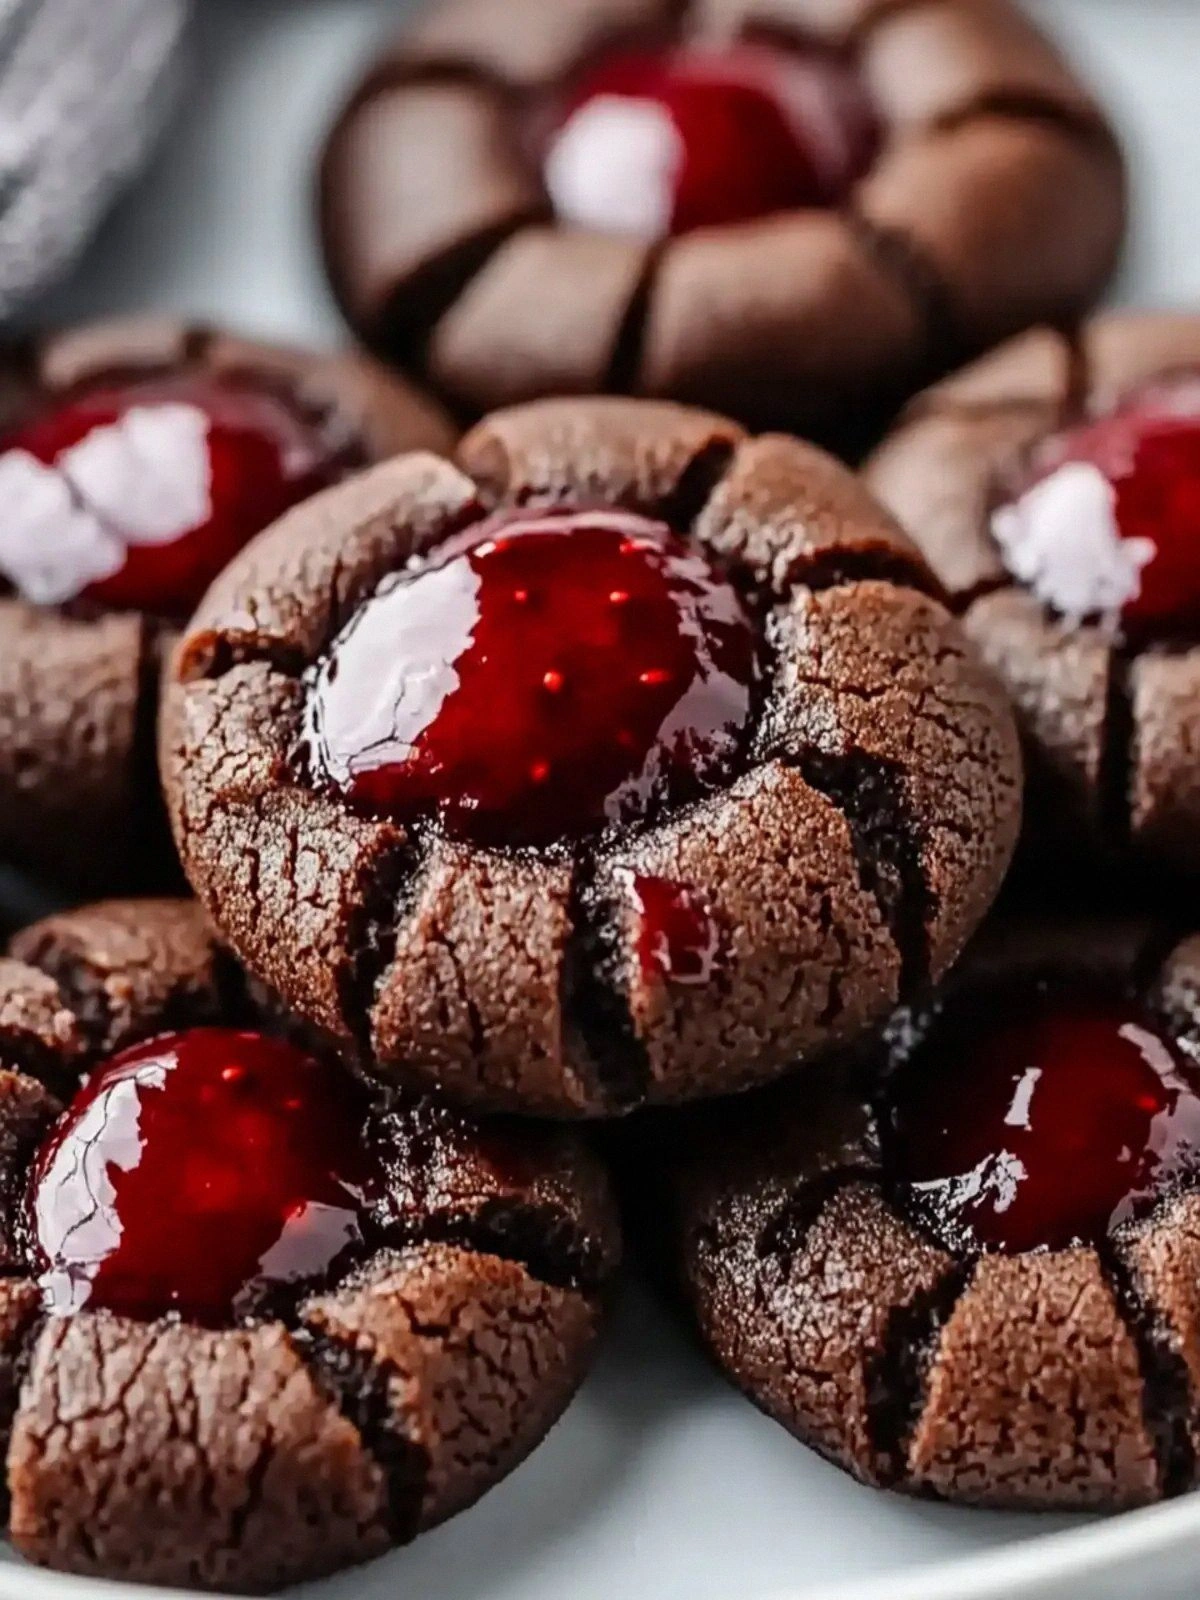
- Visual Appeal: The deep brown dough with a bright red jam center is Instagram‑ready and guarantees compliments.
- Ease of Execution: With a simple batter and a quick thumbprint technique, even a beginner can achieve professional results.
Alright, let's break down exactly what goes into this masterpiece…
Inside the Ingredient List
Let’s dive into the heart of this cookie: the ingredients that make it sing. Each component has a distinct role, and understanding that role can help you tweak the recipe to your exact taste.
The Flavor Base
Unsalted butter and granulated sugar form the sweet, buttery foundation that carries the rest of the flavors. Butter brings richness, while sugar adds caramelization. If you prefer a slightly more complex sweetness, swap granulated sugar for brown sugar; the molasses undertone will complement the chocolate.
The Texture Crew
All‑purpose flour and unsweetened cocoa powder are the backbone of the cookie’s structure. The flour provides the necessary gluten to hold the cookie together, while the cocoa powder adds depth and a slightly bitter edge that balances the jam’s sweetness. A pinch of salt is essential—it heightens the chocolate’s flavor and balances the overall sweetness.
The Unexpected Star
Raspberry jam is the showstopper. It’s not just a filling; it’s a flavor burst that contrasts the chocolate. Use a high‑quality jam with real fruit pieces for the best texture and taste. If you’re adventurous, try a blackberry or strawberry jam for a subtle twist.
The Final Flourish
Semi‑sweet or dark chocolate, cut into small pieces, is folded into the dough after it’s been chilled. The chocolate melts slightly in the oven, creating pockets of glossy, rich chocolate that melt in your mouth. For a more intense chocolate flavor, increase the amount to 3 oz, but be careful not to overwhelm the raspberry.
Everything’s prepped? Good. Let’s get into the real action…
The Method — Step by Step
- Prep the Baking Sheet: Line a rimmed baking sheet with parchment paper. This ensures even baking and makes cleanup a breeze. I always spread a thin layer of coconut oil on the parchment to add an extra touch of flavor. Once the sheet is ready, set it aside and let the rest of the prep begin.
- Temper the Butter: In a medium saucepan over low heat, melt the butter until it’s just liquid. Do not let it boil; we’re looking for a silky melt that still retains its butter flavor. Once melted, remove from heat and let it cool to room temperature. This step is crucial for a tender cookie.
- Sift the Dry Ingredients: In a large mixing bowl, whisk together the flour, cocoa powder, and salt. Sifting removes lumps and aerates the mix, giving the cookies a lighter bite. If you’re feeling fancy, add a tablespoon of cornstarch to the dry mix for an even smoother crumb.
- Combine Butter and Sugar: In a separate bowl, beat the butter with the sugar until the mixture is light and fluffy. This process incorporates air into the dough, which helps the cookies rise slightly. I always use a handheld mixer on medium speed for 2-3 minutes.
- Introduce the Egg Yolk: Add the egg yolk to the butter‑sugar mixture and whisk until fully incorporated. The yolk adds richness and helps bind the dough together. If you’re vegan, use a flaxseed or chia egg as a substitute.
- Mix Wet and Dry: Slowly fold the dry ingredients into the wet mixture, stirring gently until just combined. Over‑mixing can lead to tough cookies. At this point, fold in the chopped chocolate pieces. The chocolate will distribute evenly throughout the dough.
- Chill the Dough: Cover the dough with plastic wrap and refrigerate for at least 30 minutes. This step is a game‑changer: it firms the butter, making the dough easier to handle and preventing excessive spread. If you’re short on time, chill for 15 minutes, but the results will be slightly softer.
- Shape the Cookies: Scoop about 1.5 tablespoons of dough onto the prepared sheet, spacing them 2 inches apart. Flatten each ball into a disc with the palm of your hand. Then, using your thumb, press a small indent into the center of each cookie. This thumbprint technique creates a pocket for the jam.
- Fill the Indent: Spoon a teaspoon of raspberry jam into each indent, pressing gently so it stays in place. The jam should be visible through the cookie, creating a striking contrast when baked.
- Bake: Place the sheet in a preheated oven at 350°F (175°C) and bake for 12-14 minutes. The cookies should be firm around the edges but still slightly soft in the middle. If you prefer a crisper cookie, bake for an additional 2 minutes.
- Cool: Remove the cookies from the oven and let them cool on the sheet for 5 minutes. Then transfer them to a wire rack to cool completely. Cooling on the sheet allows the cookies to set properly, preventing them from becoming too soft.
That's it — you did it. But hold on, I've got a few more tricks that'll take this to another level…
Insider Tricks for Flawless Results
Even seasoned bakers can benefit from a few insider tips that ensure every cookie turns out perfect.
The Temperature Rule Nobody Follows
Most people bake at a standard 350°F, but lowering the temperature to 325°F and extending the bake by 3-4 minutes gives a more even rise. The cookies will stay tender in the middle while still achieving a golden edge. I’ve baked dozens of batches at 325°F with outstanding results.
Why Your Nose Knows Best
Open your nose to the aroma of chocolate and jam. If the scent feels too sweet, the jam might be overripe. A slightly tart jam provides a better balance and prevents the cookie from becoming cloying.
The 5‑Minute Rest That Changes Everything
After baking, let the cookies rest on the sheet for 5 minutes before transferring. This rest allows the jam to set and the cookies to firm up, preventing them from breaking apart when moved.
Use a Silicone Baking Mat
Silicone mats give a consistent surface and help prevent sticking, especially when dealing with buttery dough. They also make cleanup a snap, which is a win for busy evenings.
Freeze for a Quick Snack
If you’re craving a quick snack later, place the cooled cookies on a tray, freeze them for 30 minutes, then store them in an airtight container. When you’re ready to eat, just pop them out and enjoy a fresh, slightly chewy cookie.
Creative Twists and Variations
This recipe is a playground. Here are some of my favorite ways to switch things up:
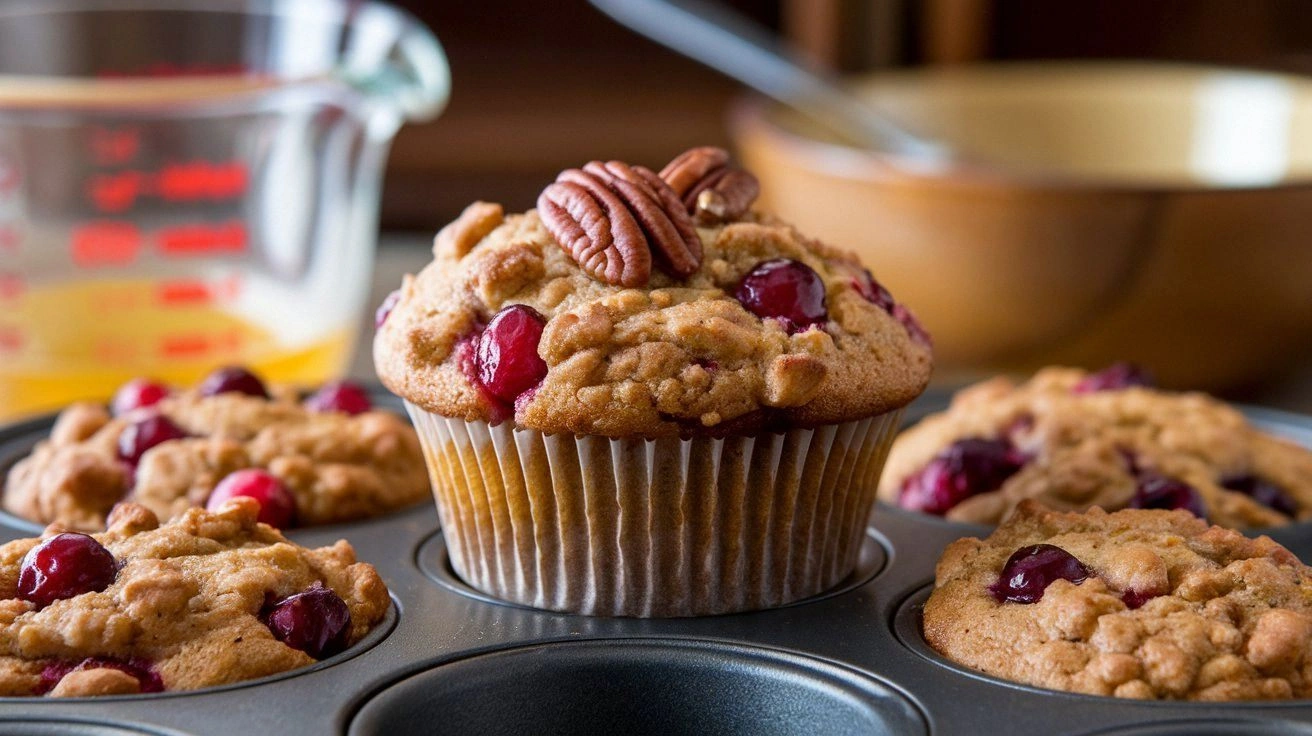
Nutty Surprise
Add 1/4 cup of chopped walnuts or pecans to the dough before baking. The nuts add crunch and a buttery flavor that complements the chocolate.
Minty Chocolate
Stir in 1 teaspoon of peppermint extract into the butter‑sugar mixture. The mint will give a refreshing aftertaste that pairs wonderfully with the raspberry jam.
Spiced Variation
Add 1/4 teaspoon of ground cinnamon and a pinch of cayenne pepper to the dry ingredients. The warm spices bring depth, while the pepper adds a subtle heat that contrasts the sweet jam.
Almond Butter Swap
Replace half the butter with almond butter for a nutty undertone. This change also reduces the overall fat content slightly, making the cookies a bit lighter.
Vegan Version
Use a plant‑based butter substitute, replace the egg yolk with a flaxseed “egg,” and choose a vegan chocolate. The texture will be similar, and the flavor profile remains intact.
Garnish Glam
After baking, drizzle melted white chocolate over the top of each cookie. The white chocolate adds a silky finish and a visual pop that’s perfect for special occasions.
Storing and Bringing It Back to Life
Fridge Storage
Keep the cookies in an airtight container at room temperature for up to 5 days. The butter will solidify slightly in the fridge, but the cookies remain moist and flavorful.
Freezer Friendly
Freeze the cookies in a single layer on a parchment‑lined tray for 24 hours, then transfer to a freezer bag. They’ll stay fresh for up to 3 months. Thaw at room temperature for 20 minutes before serving.
Best Reheating Method
To revive the cookies, place them on a baking sheet and bake at 300°F for 5 minutes. Add a tiny splash of water to the bottom of the pan; the steam will soften the cookies and restore their original chew.