I was standing in my kitchen, half‑asleep, staring at a half‑baked loaf that looked like a sad, soggy brick. The timer had gone off, the oven door yawned open, and the smell that wafted out was… nothing. I swear the universe was challenging me to prove that a quick bread could be the star of a brunch table without a fancy mixer or a culinary degree. I tossed a handful of olives into the batter on a whim, added a generous grating of sharp cheese, and set the loaf back in the oven with a prayer and a daring grin. The result? A golden‑crowned, crumb‑soft marvel that sang with salty tang and buttery richness. I dare you to taste this and not go back for seconds.
Picture this: the kitchen humming with the low thrum of the oven, the air thick with the perfume of melted cheese and toasted herbs, the crust cracking ever so slightly as you lift the loaf from the pan. You hear the faint crackle of the crust as it releases from the sides, a sound that says “I’m ready.” Your fingers feel the warm, slightly oily pan, the dough yielding under a gentle press, promising a tender crumb inside. The first bite delivers a burst of briny olive, a melt‑in‑your‑mouth cheese that stretches like silk, and a crumb that’s as airy as a cloud yet sturdy enough to hold a generous smear of butter. It’s a sensory overload that makes you feel like you’ve just discovered the holy grail of brunch foods.
Most quick‑bread recipes I’ve tried either end up dry as a desert or soggy like a wet sponge. The secret here is a perfect balance of fat, leavening, and a dash of unexpected herbaceous brightness that lifts the whole thing. I’ll be honest — I ate half the batch before anyone else got to try it, and that’s a confession I’m willing to make because the flavor is that unforgettable. The technique that makes this version stand out is the “cold‑fold” method: you whisk the wet ingredients, then gently fold in the dry, keeping the batter cool and airy. This preserves the rise and gives the crumb that cloud‑like texture that most quick breads lack.
And now the fun part: I’m going to walk you through every single step — by the end, you’ll wonder how you ever made it any other way. Okay, ready for the game‑changer? Let’s dive into why this loaf is hands down the best version you’ll ever make at home.
What Makes This Version Stand Out
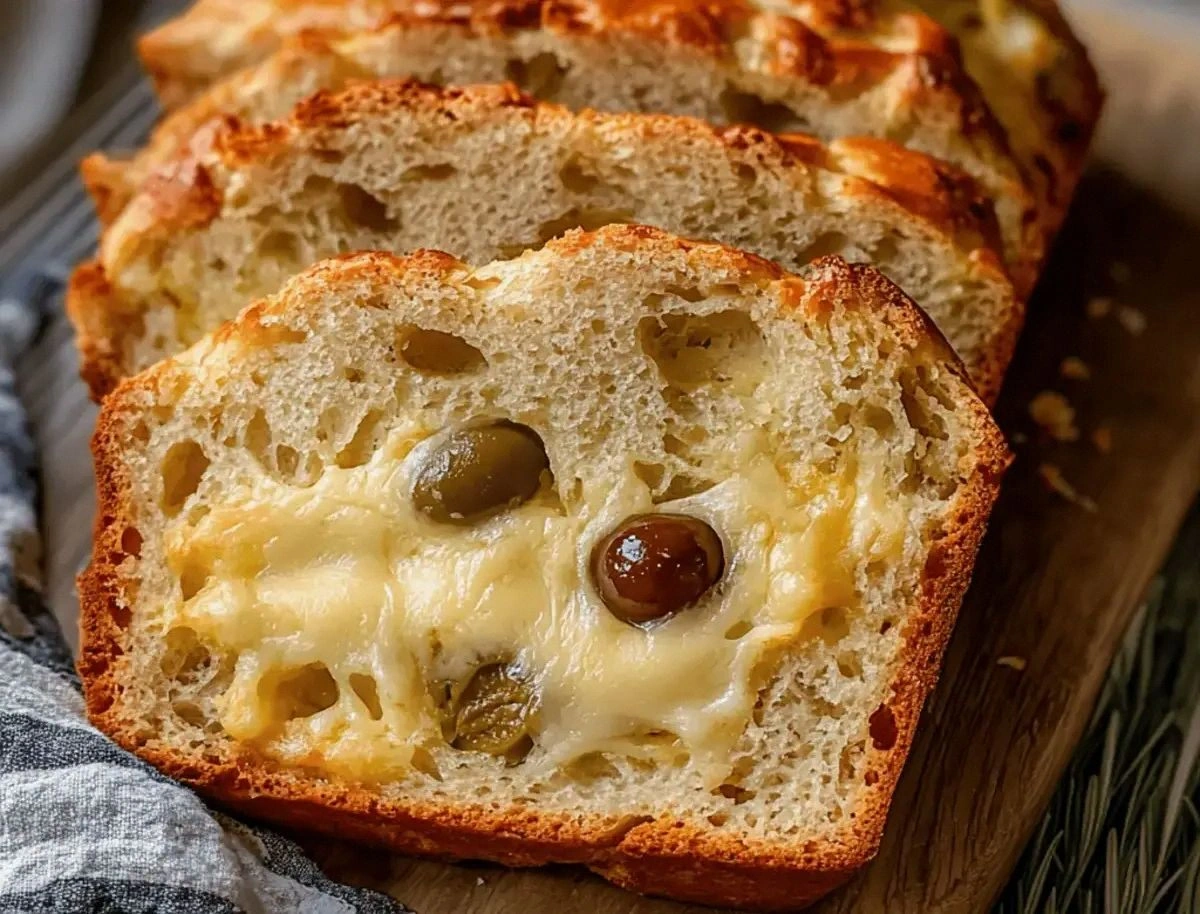
- Flavor Explosion: The combination of sharp cheese and briny olives creates a taste that’s both bold and comforting, like a perfect duet between a rock star and a soulful ballad.
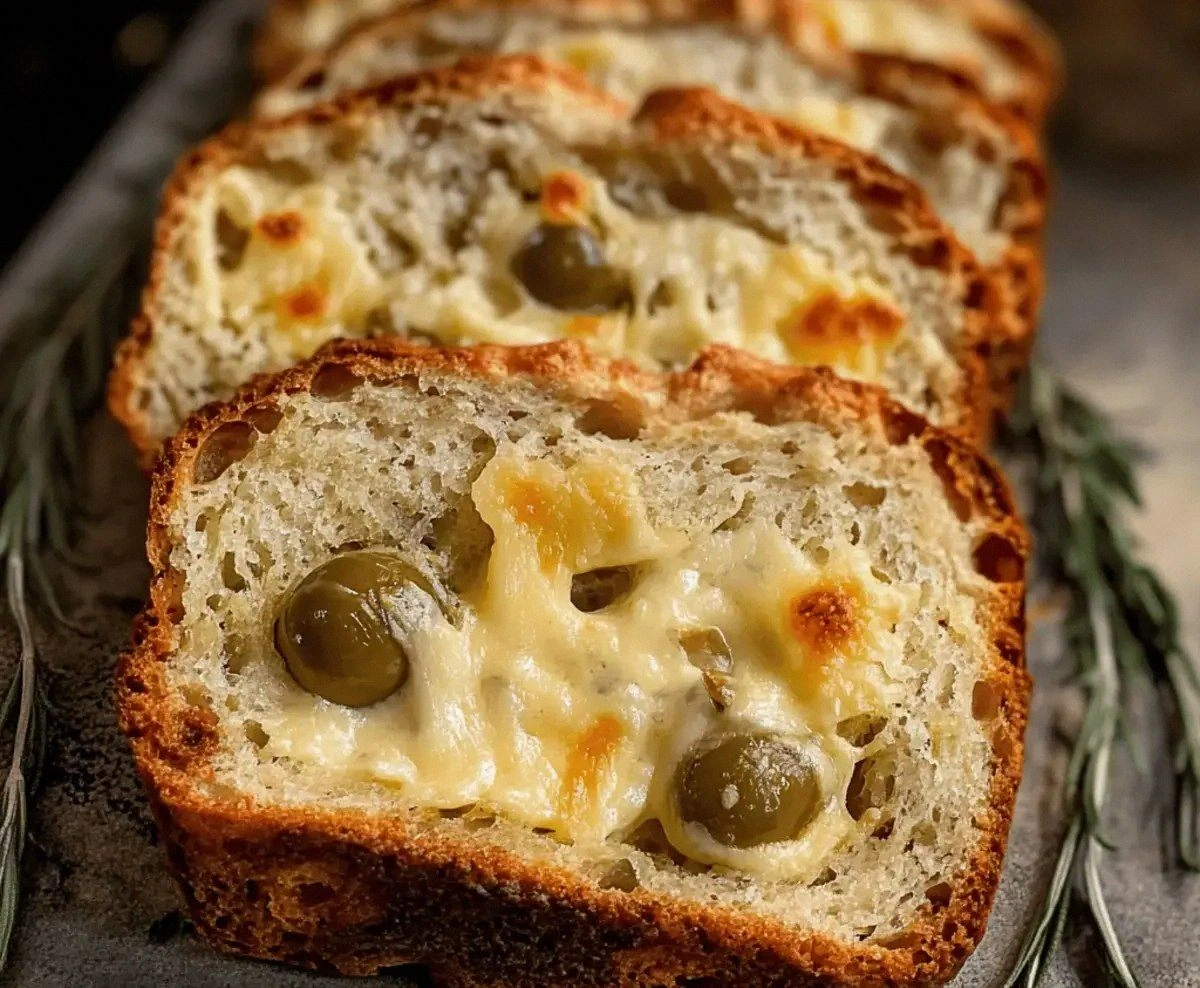
- Texture Triumph: A crisp, golden crust gives way to a moist, tender crumb that pulls apart in perfect, buttery slices.
- Simplicity: No fancy equipment required – just a bowl, a whisk, and an oven, making it ideal for busy weekend mornings.
- Unique Herb Lift: A sprinkle of fresh thyme or rosemary adds an aromatic lift that most recipes overlook.
- Crowd‑Pleaser: This loaf disappears faster than fresh pastries at a coffee shop; guests will be lining up for a second helping.
- Ingredient Quality: Using a high‑quality sharp cheese and good‑olive oil transforms ordinary pantry staples into gourmet magic.
- One‑Pan Wonder: The entire loaf bakes in a single loaf pan, cutting down on cleanup and keeping the kitchen vibe zen.
- Make‑Ahead Potential: It stores beautifully, so you can bake it ahead of time and still enjoy that fresh‑out‑of‑the‑oven taste.
Inside the Ingredient List
The Flavor Base
Sharp cheese is the heart‑beat of this loaf. A good Gruyère or aged cheddar brings a deep, nutty flavor that melts into the crumb, creating pockets of gooey bliss. If you skip the cheese, you’ll lose that luxurious richness and the loaf will feel flat. For a twist, try a blend of feta and Parmesan for an extra salty punch. When shopping, look for cheese that’s aged at least 12 months; the longer the aging, the more complex the flavor.
The Texture Crew
All‑purpose flour provides the structure, while baking powder is the silent hero that lifts the dough without the need for yeast. The 1 tbsp of baking powder might look modest, but it’s calibrated to give the loaf a gentle rise that’s airy yet sturdy. If you replace the flour with whole‑wheat, expect a denser crumb and a nuttier taste, which can be delightful but changes the texture profile. Salt isn’t just a seasoning; it amplifies the cheese and olive flavors, making each bite pop.
The Unexpected Star
Olives bring a briny burst that cuts through the richness of the cheese, creating a perfect balance. Green olives give a sharper, fruitier note, while black olives add a mellow, earthy depth. Don’t be shy about chopping them finely – the smaller pieces distribute flavor evenly throughout the loaf. If you’re allergic or simply don’t love olives, try sun‑dried tomatoes for a sweet‑savory alternative.
The Final Flourish
Fresh herbs like thyme or rosemary add a fragrant lift that makes the loaf feel herbaceous without being overpowering. A tablespoon of finely chopped herbs is enough; too much can make the loaf taste like a garden. Olive oil not only adds moisture but also contributes a subtle fruitiness that pairs beautifully with the cheese. Eggs act as the binder, giving the loaf structure and a golden crust. Milk adds tenderness and a slight sweetness that rounds out the savory profile.
Everything's prepped? Good. Let's get into the real action…
The Method — Step by Step
Preheat your oven to 375°F (190°C) and grease a 9‑inch loaf pan with a thin layer of olive oil. The oil not only prevents sticking but also adds a subtle sheen to the crust. While the oven warms, line the pan with parchment paper for an easy lift‑out later. This step is the foundation; a well‑heated oven ensures the loaf rises evenly.
In a large mixing bowl, whisk together the flour, baking powder, and salt until the mixture is uniformly speckled. This aerates the dry ingredients, preventing clumps and ensuring the leavening distributes evenly. I like to sift them together for an extra light texture, but a good whisk does the trick. Power transition: Okay, ready for the game‑changer?
In a separate bowl, combine the eggs, milk, and olive oil. Whisk vigorously for about 30 seconds until the mixture is smooth and a pale yellow color emerges. This creates an emulsion that will coat the flour particles later, leading to a tender crumb.
Kitchen Hack: Use a cold bowl for the wet ingredients; the chill helps trap air bubbles for a fluffier loaf.Pour the wet mixture into the dry ingredients and gently fold with a rubber spatula. Stop mixing as soon as you see a thick batter; over‑mixing will develop gluten and make the crumb tough. The batter should look slightly lumpy – that’s exactly what you want. This next part? Pure magic.
Fold in the grated cheese, chopped olives, and fresh herbs. Distribute them evenly so every bite gets a surprise of salty olive and melty cheese. If the batter feels too thick, add a splash of milk (no more than 2 Tbsp) to loosen it just enough to spread easily in the pan.
Watch Out: Don’t over‑fold; the batter should stay thick but not dry, otherwise the loaf will bake into a dense brick.Transfer the batter into the prepared loaf pan, smoothing the top with a spatula. The surface should be slightly uneven – it will level out as it bakes. Sprinkle a tiny pinch of extra cheese on top for a crust that crackles like caramelized sugar. Place the pan on the middle rack of the oven and set a timer for 30 minutes.
While the loaf bakes, resist the urge to open the oven door. Around the 20‑minute mark, give the loaf a quick visual check: the edges should be pulling away from the pan, and the top will have turned a deep golden‑brown. If you have a kitchen thermometer, the internal temperature should read about 200°F (93°C). That sizzle when it hits the pan? Absolute perfection.
When the timer dings, run a toothpick or thin skewer into the center; it should come out clean or with just a few moist crumbs. If you see wet batter, give the loaf another 5‑7 minutes. Once done, remove the pan from the oven and let it rest for 10 minutes – this lets the steam settle and the crumb set.
Turn the loaf out onto a cooling rack, slice with a serrated knife, and serve warm with a pat of butter or a drizzle of extra‑virgin olive oil. The loaf is at its peak flavor within the first hour, but it also holds up wonderfully for later meals. That moment when you pull a slice out and the cheese stretches like a buttery ribbon? That’s the payoff for every second you spent perfecting this.
That's it — you did it. But hold on, I've got a few more tricks that'll take this to another level…
Insider Tricks for Flawless Results
The Temperature Rule Nobody Follows
Never bake a quick bread in a cold oven. Starting with a hot oven gives the batter an immediate lift, preventing a flat loaf. I once tried a “slow‑start” method and ended up with a dense, pancake‑like texture that was a disappointment. The rule of thumb: preheat for at least 15 minutes and trust the thermostat. This ensures the crust forms quickly, sealing in moisture.
Why Your Nose Knows Best
Your sense of smell is a more reliable indicator of doneness than a timer. When the loaf reaches that nutty, toasted aroma, you know the interior has cooked through. If the kitchen smells like fresh bread, resist the urge to open the oven too early – the heat loss can cause a collapse. Trust the scent; it’s the silent chef whispering “I’m ready.”
The 5‑Minute Rest That Changes Everything
Allowing the loaf to rest for five minutes after removing it from the oven lets the steam redistribute, making the crumb uniformly moist. Skipping this step yields a dry top and a gummy interior. I once served a loaf straight from the pan, and the texture was off – a quick rest fixes that. So set a timer for 5 minutes, sip your coffee, and come back to a perfect slice.
Olive Oil vs. Butter – The Fat Debate
Olive oil gives a light, slightly fruity crumb, while butter adds richness and a deeper golden crust. If you love a buttery flavor, swap half the olive oil for melted butter; the loaf will be richer but slightly denser. I experimented with a 1:1 swap and loved the result for a weekend brunch. Remember, the key is to keep the total fat amount the same to avoid texture changes.
The Secret of Cold Ingredients
Keeping the milk, eggs, and even the butter chilled until mixing preserves air bubbles that you’ve just incorporated. Warm ingredients can melt those bubbles, leading to a tighter crumb. I keep my dairy in the fridge right up to the moment I whisk, and the difference is noticeable – the loaf is lighter, almost like a savory scone.
Creative Twists and Variations
This recipe is a playground. Here are some of my favorite ways to switch things up:
Mediterranean Sunrise
Add sun‑dried tomatoes, crumbled feta, and a pinch of oregano. The bright red pieces contrast beautifully with the golden crust, and the feta adds a tangy creaminess. Perfect for a brunch that wants a hint of the Greek islands.
Spicy Kick
Stir in finely chopped jalapeños or a dash of crushed red pepper flakes. The heat pairs with the cheese, creating a balanced heat‑and‑cheese experience. Serve with a cooling dollop of Greek yogurt to tame the fire.
Herb Garden
Swap thyme for a blend of fresh basil, chives, and parsley. The herbaceous notes become brighter, making the loaf feel spring‑like. This variation is fantastic alongside a light avocado salad.
Cheese Lover’s Dream
Double the cheese and add a swirl of ricotta in the center before baking. The extra cheese creates pockets of molten goodness, while the ricotta adds a creamy surprise. Ideal for those who can’t get enough dairy.
Whole‑Grain Boost
Replace half of the all‑purpose flour with whole‑wheat flour and add a tablespoon of honey. The loaf gains a nutty depth and a subtle sweetness that complements the olives. It’s a heartier version that still rises beautifully.
Storing and Bringing It Back to Life
Fridge Storage
Wrap the cooled loaf tightly in plastic wrap or store it in an airtight container. It will stay fresh for up to 4 days. For a quick snack, slice and toast the pieces; the crust will re‑crisp, and the interior stays moist.
Freezer Friendly
Slice the loaf before freezing, then place the slices in a zip‑top bag with a parchment sheet between layers. Freeze for up to 2 months. When you’re ready to eat, pop a slice into the toaster or microwave for 30 seconds, and you’ll have a “just‑baked” experience.
Best Reheating Method
Preheat your oven to 350°F (175°C), place the slice on a baking sheet, and add a tiny splash of water on the crust. Cover loosely with foil and heat for 8‑10 minutes. The water creates steam that revives the crumb, while the foil prevents the top from over‑browning. This trick turns a leftover into a fresh‑out‑of‑the‑oven slice.