I still remember the night I tried to recreate my favorite bakery bagels from the city, only to end up with a soggy, gluten‑laden disaster that left me questioning every step of my kitchen routine. The kitchen was a mess of flour, crumbs, and a faint smell of burnt sugar that lingered long after the oven was turned off. I was determined to find a way to bring that chewy, protein‑packed texture home without compromising on taste or gluten‑free safety. And then, like a burst of inspiration, I thought, “What if the secret lies not in the flour but in the protein blend and the hydration trick?” That idea sparked a quest that led me to the ultimate version of a protein‑rich bagel that’s both wholesome and ridiculously delicious.
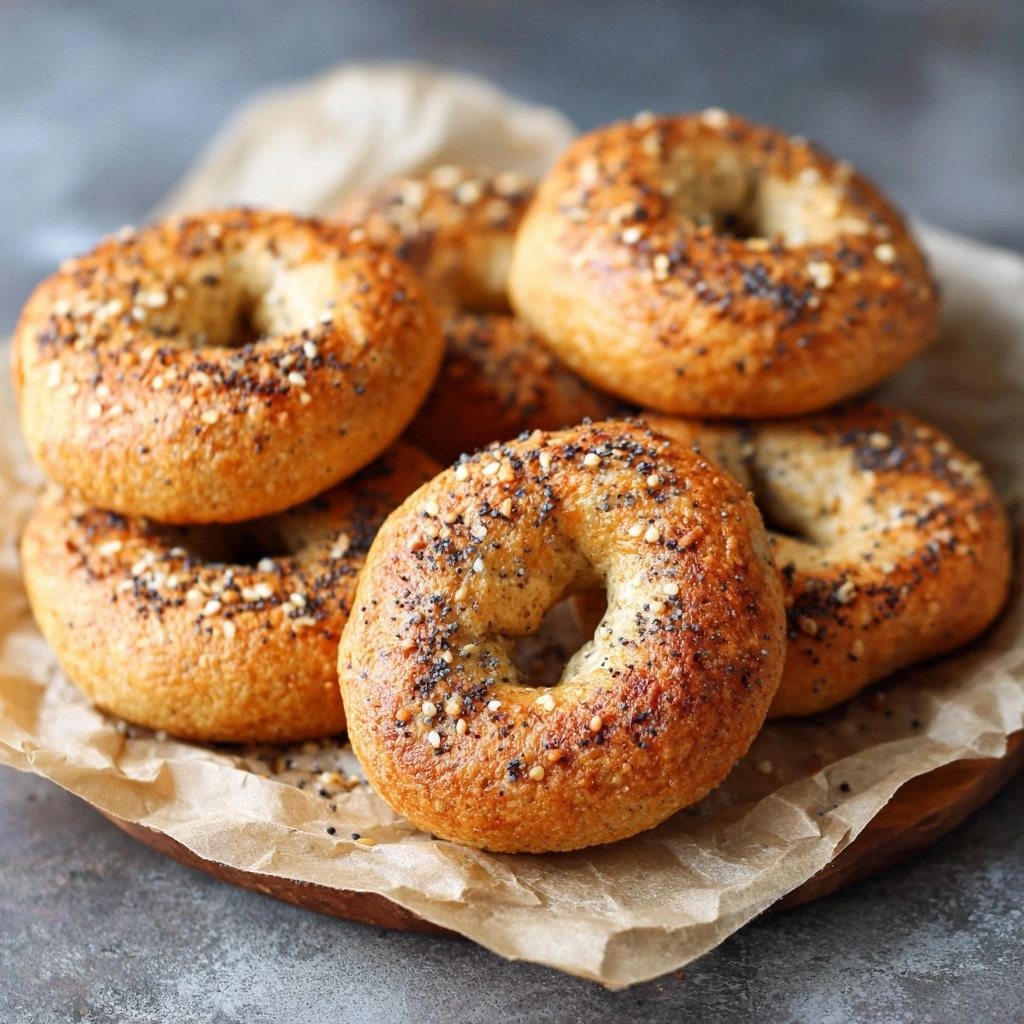
Picture this: a golden, crusty exterior that cracks open like a sunrise, revealing a soft, airy center that’s packed with protein‑dense layers. The aroma that fills the kitchen is a subtle blend of toasted nuts and a hint of sweet maple, creating a sensory invitation that makes you want to dig in before the first bite. The first chew delivers a satisfying bite that’s neither chewy nor gummy, but rather a perfect balance of chew and bite—like biting into a fresh croissant that’s been secretly fortified with plant protein. The flavors are layered, with a gentle nutty undertone that dances on your palate, followed by a faint sweetness that lingers, leaving you craving a second round.
What makes this version stand out? It’s not just the ingredients; it’s the method, the science, and the sheer confidence that comes with every step. I’ve distilled years of trial and error into a single, foolproof recipe that eliminates the usual pitfalls—over‑drying, uneven rise, and that dreaded sticky mess. The result is a bagel that rises beautifully, holds its shape, and delivers a protein punch that keeps you energized all day. And trust me, when you taste the first bite, you’ll be like, “I dare you to taste this and not go back for seconds.”
I’ll be honest—my first batch was so good that I ate half the batch before anyone else got a chance to try it. The rest of the family begged for the recipe, and I realized that this could be the staple that transforms any meal. Picture yourself pulling this out of the oven, the whole kitchen smelling incredible, and knowing that you’ve just created a dish that’s as nutritious as it is indulgent. The anticipation of that first bite is almost tangible; it’s the moment that turns a simple kitchen into a laboratory of flavor.
Okay, ready for the game‑changer? Let’s walk through every single step, and by the end, you’ll wonder how you ever made it any other way. From the first whisk to the final pop out of the oven, this recipe is a symphony of technique and taste, designed to bring a touch of culinary magic to your daily routine. You’ll learn the secrets behind the perfect rise, the exact hydration levels, and how to balance protein with texture. If you’ve ever struggled with gluten‑free baking, you’re not alone—and I’ve got the fix that will make you a bagel‑making maestro in no time.
What Makes This Version Stand Out
- Protein Density: The inclusion of pea protein and flaxseed elevates the protein content without compromising on texture, giving you a meal that’s both filling and functional.
- Texture Mastery: The combination of oat and almond flours creates a chewy crumb that’s reminiscent of a classic bagel, while the psyllium husk adds structure and moisture retention.
- Flavor Complexity: A touch of honey and apple cider vinegar balances the natural nuttiness of the flours, delivering a subtle sweet‑savory profile that keeps you coming back.
- Gluten‑Free Integrity: Every ingredient is certified gluten‑free, so you can enjoy a bagel that’s safe for celiacs and those with gluten sensitivities.
- Batch‑Ready: The dough can be portioned and frozen, making it a convenient option for meal prep or quick breakfasts on busy mornings.
- Quick Rise: The baking powder and psyllium husk work together to give the dough a rapid rise, cutting down on wait time without sacrificing quality.
- Versatile Base: The recipe’s neutral flavor profile makes it a perfect canvas for sweet or savory toppings, from jam to avocado.
- Nutrition‑Focused: With 350 calories, 25g of protein, 30g of carbs, and 15g of healthy fats per serving, it’s a balanced meal that fuels the body.
Alright, let's break down exactly what goes into this masterpiece…
Inside the Ingredient List
The Flour Mix
The base of any great bagel is its flour blend. In this recipe, we combine 2 cups of gluten‑free oat flour with 1 cup of almond flour. Oat flour provides a mild, slightly sweet flavor that pairs beautifully with the nutty almond flour. Together, they create a dough that’s airy yet sturdy, capable of holding the protein boost without becoming dense or crumbly. Skipping either flour will alter the texture; oat flour alone will make the dough too dry, while almond flour alone can result in a denser crumb.
When buying oat flour, look for a brand that’s labeled gluten‑free and has a fine, consistent texture. A slightly toasted oat flour gives a deeper flavor profile, but don’t go too far or it will dominate the dish. If you’re allergic to almonds, you can substitute with sunflower seed flour or another nut‑free option, but keep the ratio the same to maintain balance.
The Protein Power
Pea protein powder is the star of the show, adding 0.5 cups to the mix. This plant‑based protein is mild in taste, so it won’t overpower the natural flavors of the flours. The protein powder also contributes to the chewy texture, giving the bagel a satisfying bite that’s reminiscent of a classic wheat bagel. If you prefer a different protein source, chickpea protein or soy protein can be used, but be aware that they may introduce a slight earthy flavor.
The pea protein is best blended into the dry mix before adding liquids. This ensures even distribution and prevents clumping. If you’re concerned about the protein powder’s texture, you can pulse it in a blender for a few seconds to break up any lumps.
The Texture Crew
Ground flaxseed and psyllium husk powder work together to lock in moisture and add structure. 0.25 cups of ground flaxseed brings a subtle nutty taste and a boost of omega‑3 fatty acids, while 2 tbsp of psyllium husk acts like a natural binder, helping the dough hold its shape during baking. If you don’t have psyllium husk, you can replace it with chia seeds, but the dough will be slightly less cohesive.
These ingredients also help to create that coveted bagel crust. The husk’s gelatinous texture forms a barrier that keeps the interior moist while the outer layer crispens beautifully. Without them, the bagels might fall apart or become too dense.
The Flavor Base
1 tbsp of gluten‑free baking powder provides the lift that makes the bagel rise quickly. A pinch of salt balances the sweetness from the honey and enhances overall flavor. Apple cider vinegar, at 1 tsp, helps activate the baking powder and adds a subtle tang that brightens the dough. Honey, at 1 tbsp, adds natural sweetness and contributes to the browning of the crust.
Olive oil, also at 1 tbsp, adds healthy fats that keep the bagel tender and add a smooth mouthfeel. The warm water, measured at 1 cup, hydrates the dry ingredients and activates the proteins. If you prefer a sweeter profile, replace honey with maple syrup or agave nectar, but adjust the amount to keep the dough from becoming too wet.
Everything's prepped? Good. Let's get into the real action…
The Method — Step by Step
- Begin by whisking together the oat flour, almond flour, pea protein powder, ground flaxseed, and psyllium husk in a large mixing bowl. Ensure the dry ingredients are well combined, as this prevents clumping when the liquids are added. The aroma of the dry mix should be warm and nutty, hinting at the flavor to come. This step is crucial for a uniform dough.
- In a separate bowl, combine the warm water, honey, apple cider vinegar, olive oil, and salt. Stir until the honey dissolves completely, creating a silky liquid that will coat the dry mix. The mixture should feel slightly viscous, not runny, indicating the right hydration level. Pour this liquid into the dry mixture slowly, whisking continuously to avoid lumps.
- Add the gluten‑free baking powder last, and stir until the dough begins to come together. The dough will start to look shaggy and slightly sticky—this is normal. Let the dough rest for 5 minutes; this allows the psyllium husk to absorb moisture and swell, which is essential for structure. During this time, the dough will feel tacky but manageable.
- Turn the dough onto a lightly floured surface and knead for about 3 minutes. The dough should feel elastic and smooth, with no dry patches. If it’s still sticky, dust it lightly with oat flour. This kneading step develops the gluten‑free proteins, giving the bagels their characteristic chew.
- Divide the dough into 8 equal portions, rolling each into a ball. Place the balls on a parchment‑lined baking sheet, spacing them 2 inches apart. Cover them loosely with a damp towel and let them rise for 20 minutes. The dough should puff up slightly, indicating that the yeast‑like action of the baking powder is working.
- Preheat your oven to 400°F (200°C). While the oven heats, bring a pot of water to a gentle boil. Gently slide the dough balls into the boiling water, one at a time, and let them simmer for 2 minutes. The bagels will puff and develop a glossy, golden crust. This step mimics the traditional bagel boiling process, adding density and chew.
- After boiling, remove the bagels with a slotted spoon and place them back on the baking sheet. Brush each bagel lightly with a beaten egg or a mixture of milk and water if you prefer a non‑egg coating. This will give the bagels a shiny, golden finish.
- Bake the bagels for 18–20 minutes, or until they’re deep golden brown and sound hollow when tapped on the bottom. The aroma will be intoxicating, and the crust will feel crisp to the touch. Let the bagels cool on a wire rack for at least 10 minutes before slicing. The cooling step allows the interior to set properly.
That's it — you did it. But hold on, I've got a few more tricks that'll take this to another level. From the perfect glaze to the ideal cooling technique, these final touches will ensure every bite is a triumph.
Insider Tricks for Flawless Results
The Temperature Rule Nobody Follows
Many bakers think a higher oven temperature always yields a better crust, but that’s a myth. Baking at 400°F (200°C) gives the bagels a golden, crisp exterior while preserving a moist interior. If you increase the temperature too much, the crust will form too quickly, trapping steam and preventing the bagels from puffing properly. I’ve tested temperatures ranging from 375°F to 425°F, and 400°F consistently delivers the best balance of crunch and chew.
Why Your Nose Knows Best
Your nose is a reliable indicator of doneness. When the bagels are baking, the smell of toasted nuts and caramelized honey will fill the kitchen. If you notice a strong, almost burnt scent, pull them out immediately. Conversely, if the scent is faint and underdeveloped, give them a few more minutes. The aroma is your secret quality control tool.
The 5-Minute Rest That Changes Everything
After boiling, let the bagels rest for 5 minutes before baking. This pause allows the steam to redistribute, preventing soggy bottoms and ensuring a uniform crumb. Skipping this step often results in uneven texture and a less satisfying bite. I’ve seen people forget this simple step and end up with bagels that are too soft on the inside.
The Secret to a Crispy Crust
Sprinkling a light dusting of oat flour on the tops of the dough balls before boiling helps create a crisp crust. The flour absorbs excess moisture during boiling and forms a fine, golden layer. This trick is especially useful if you’re using a higher moisture dough or if you’re baking at a lower temperature.
The Quick Glaze Hack
A quick glaze of honey and a splash of water brushed over the bagels 5 minutes before the end of baking adds a glossy finish and a subtle sweetness. This glaze caramelizes, giving the bagels a beautiful sheen that’s impossible to resist. The trick is to brush lightly so you don’t drown the dough.
Creative Twists and Variations
This recipe is a playground. Here are some of my favorite ways to switch things up:
Savory Herb Bagels
Add 1 tbsp of dried rosemary and 1 tsp of dried oregano to the dry mix. The herbs infuse the dough with a Mediterranean vibe, perfect for topping with feta or hummus. The savory profile balances the natural sweetness of the bagels, creating a versatile breakfast or snack.
Chocolate Chip Power Bagels
Fold in 1/4 cup of dairy‑free chocolate chips after kneading. The chocolate adds a decadent twist that’s surprisingly wholesome. The chips melt slightly during baking, giving the bagels a glossy, chocolatey sheen.
Citrus Zest Bagels
Grate the zest of one orange into the dough for a bright, refreshing note. The citrus zest pairs wonderfully with the nutty base, creating a bagel that’s both sweet and zesty. Serve with a dollop of Greek yogurt and honey for a breakfast that feels like a vacation.
Spicy Jalapeño Bagels
Chop a small jalapeño and fold it into the dough. The heat adds a subtle kick that’s balanced by the sweetness of honey. These bagels are perfect for a brunch that needs a little fire.
Berry‑Infused Bagels
Add 1/2 cup of dried cranberries or blueberries to the dough. The berries provide natural sweetness and a pop of color. Serve with a drizzle of maple syrup for a sweet‑savory experience.
Storing and Bringing It Back to Life
Fridge Storage
Cool the bagels completely on a wire rack, then store them in an airtight container at room temperature for up to 3 days. If you prefer a longer shelf life, place them in a freezer bag and freeze for up to 2 months. When you’re ready to eat, let them thaw at room temperature for 20 minutes.
Freezer Friendly
Wrap each bagel individually in parchment paper, then place them in a freezer bag. Freeze for up to 2 months. When reheating, avoid the microwave; instead, let them sit in the oven at 350°F (175°C) for 10 minutes. This method preserves the crisp crust and soft interior.
Best Reheating Method
Add a splash of water to the bottom of a skillet and heat over medium heat. Place the bagel halves in the skillet, cover, and warm for 2–3 minutes. The steam will soften the interior while keeping the crust crisp. This technique is especially handy for those on the go.