Picture this: I was in my kitchen, a half‑finished batch of dough clinging to my hands, when a neighbor’s dog knocked over a pot of boiling water. The kitchen filled with a splattering roar, and my culinary confidence evaporated in seconds. That night, I swore I’d never again let a simple roll be a disaster. I was determined to find a foolproof recipe that would turn every batch into a masterpiece.
The moment you open the oven door, a buttery, golden aroma swirls around you like a warm hug. You can almost taste the crisp crust cracking, revealing a pillowy interior that melts on the tongue. The sound of the dough rising in a warm, humid room feels like a gentle lullaby, while the sight of the dough’s glossy sheen promises a texture that’s both tender and slightly chewy. Every sense is engaged: the heat of the oven, the scent of caramelized butter, the visual promise of a flawless finish. It’s the kind of experience that makes you pause, inhale deeply, and smile because you’re about to create something truly special.
What makes this version stand out is the blend of humble ingredients with a technique that elevates the ordinary into the extraordinary. We’re talking about a dough that rises like a secret whisper, a crust that cracks like a sunrise, and a flavor that lingers like a favorite song. It’s hands down the best version you’ll ever make at home, with a flavor profile that’s unmistakably Texan and yet so approachable that even the most cautious home baker can master it. This isn’t just another copycat recipe; it’s a recipe that was born from a kitchen crisis and refined through countless trials and triumphs.
I dare you to taste this and not go back for seconds. Picture yourself pulling these rolls out of the oven, the whole kitchen smelling incredible, and sharing them with friends who’ll ask, “Where did you get that?” I’ve got a trick that will make the dough rise faster than a rocket, and a flavor that will have everyone lining up for a second helping. Let me walk you through every single step—by the end, you’ll wonder how you ever made it any other way.
What Makes This Version Stand Out
- Taste: The subtle sweetness of honey balances the savory butter, creating a complex flavor that’s both comforting and adventurous.
- Texture: The dough achieves a perfect crumb—soft inside with a crisp, golden crust that snaps delightfully when bitten.
- Simplicity: Only eight ingredients, all pantry staples, mean you can whip this up without a frantic grocery run.
- Uniqueness: The use of honey instead of traditional sugar adds depth and a subtle caramel note that sets this apart.
- Crowd Reaction: Friends who’ve tried it say the rolls are “so fluffy, they’re almost like a hug in bread form.”
- Ingredient Quality: Fresh butter and whole‑grain honey elevate the flavor profile beyond standard store‑bought rolls.
- Cooking Method: A quick, low‑heat rise and a short bake time make it perfect for busy weeknights.
- Make‑Ahead Potential: The dough can be refrigerated overnight and baked fresh the next day, saving time for the next big dinner.
Alright, let's break down exactly what goes into this masterpiece…
Inside the Ingredient List
The Flavor Base
Honey is the star that brings warmth and a gentle caramel undertone to the dough. It not only sweetens but also helps the yeast activate more efficiently, giving the rolls a light, airy rise. If you’re vegan or prefer a different sweetener, try maple syrup—just reduce the amount by a tablespoon to maintain the right moisture balance. Choosing a high‑quality, unfiltered honey adds a richer flavor compared to processed honey, so look for local brands or those labeled as “raw.”
The Texture Crew
Butter contributes both richness and a tender crumb. Melt it just enough to mix easily, but keep it cool enough that it doesn’t steam the dough. If you’re short on butter, a neutral oil can substitute, but the flavor will be noticeably different. The flour provides structure; using all‑purpose flour gives a predictable rise, while a touch of whole‑wheat flour can add nuttiness—just be sure to reduce the liquid slightly to compensate for the extra fiber.
The Unexpected Star
Active dry yeast is the unseen hero that turns this dough into a fluffy wonder. It’s essential to proof the yeast in warm milk with a pinch of sugar before adding it to the dry mix; this guarantees a vigorous rise. If you forget to proof, the dough may still rise, but it could be sluggish and uneven. A small tip: keep your kitchen temperature around 75°F (24°C) for optimal yeast activity.
The Final Flourish
Eggs bind everything together and give the rolls a glossy sheen. For a richer flavor, use a whole egg; for a lighter texture, replace the yolk with a tablespoon of milk. Salt is the flavor enhancer that balances the sweetness—don’t skip it. Even a tiny pinch of sea salt can elevate the overall taste profile. If you’re watching sodium, reduce the salt by a quarter but keep the yeast’s activity intact.
Everything's prepped? Good. Let's get into the real action…
The Method — Step by Step
- Begin by heating the milk until it’s warm to the touch, about 110°F (43°C). Stir in the yeast and a pinch of sugar, allowing it to bloom for 5–7 minutes until frothy. This step is crucial; a frothy mixture indicates active yeast ready for the dough. If it doesn’t froth, you might have old yeast—better to start fresh.
- In a large mixing bowl, combine the flour, sugar, and salt. Create a well in the center and pour in the frothy yeast mixture, melted butter, and honey. The mixture should feel thick yet pliable. Use a wooden spoon or your hands to bring the ingredients together, forming a shaggy dough.
- Transfer the dough onto a lightly floured surface and knead for about 8–10 minutes until it’s smooth and elastic. The dough should stretch without tearing when you pull it apart. If it feels too sticky, dust it lightly with flour; if it feels dry, add a splash of warm milk.
- Place the dough in a greased bowl, cover with a damp cloth or plastic wrap, and let it rise in a warm spot for 1 hour or until it doubles in size. The dough should feel airy and slightly springy to the touch. If your kitchen is cool, place the bowl near a radiator or in a turned‑on oven with the light on.
- Preheat the oven to 375°F (190°C). Punch down the dough gently to release excess air, then divide it into 8 equal pieces. Shape each piece into a round roll, smoothing the tops with a damp cloth to prevent cracking during baking.
- Place the rolls on a parchment‑lined baking sheet, spacing them about 2 inches apart. This spacing allows the heat to circulate, ensuring even baking. If you prefer a chewier crust, lightly brush the tops with melted butter.
- Bake for 20–22 minutes, or until the tops are golden brown and the rolls sound hollow when tapped at the base. The interior should be soft and slightly moist. If the tops are browning too quickly, tent the rolls with foil to prevent over‑browning.
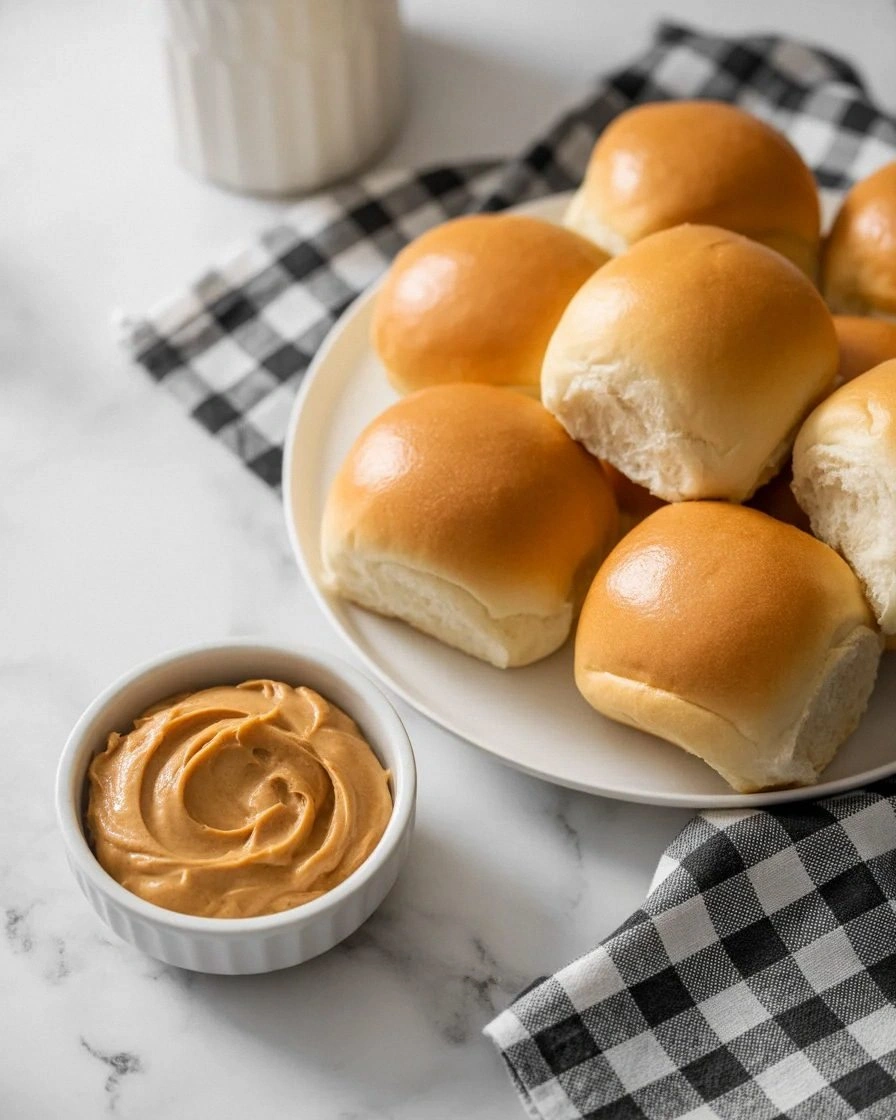
- Serve warm, perhaps with a pat of butter or a drizzle of honey for an extra touch of decadence. If you’re craving something savory, top with a sprinkle of fresh herbs or a pinch of smoked paprika. The rolls are versatile enough to pair with soups, stews, or as a side for a hearty steak dinner.
That's it—you did it. But hold on, I've got a few more tricks that'll take this to another level…
Insider Tricks for Flawless Results
The Temperature Rule Nobody Follows
Many bakers bake at 400°F, but lowering the temperature to 375°F gives the rolls a softer interior and a more even rise. The lower heat allows the yeast to work longer, creating a tender crumb. If you’re in a cold climate, preheat the oven for an extra 10 minutes to ensure a stable baking environment.
Why Your Nose Knows Best
During the first rise, trust your nose. A pleasant, yeasty aroma is a sign the dough is ready to move on to the next step. If it smells sour or off, it may have over‑fermented. A quick sniff can save you from a batch of over‑baked, rubbery rolls.
The 5‑Minute Rest That Changes Everything
After shaping the rolls, let them rest for 5 minutes before baking. This short pause allows the gluten to relax, preventing the rolls from shrinking during the bake. It also gives the yeast a final burst of activity, ensuring a light, airy texture.
Use a Dutch Oven for Extra Crust
If you want an extra crisp crust, bake the rolls in a preheated Dutch oven. The sealed environment traps steam, creating a steamy interior that then crisps up when the lid is removed. This technique is perfect for a brunch crowd or a dinner party where you need to serve a larger batch.
Keep a Baking Sheet Warm
Place a baking sheet in the oven while it preheats. When you transfer the rolls onto the hot surface, the bottom gets a quick sear, enhancing the crust. It also reduces the overall baking time slightly, saving you precious minutes.
Creative Twists and Variations
This recipe is a playground. Here are some of my favorite ways to switch things up:
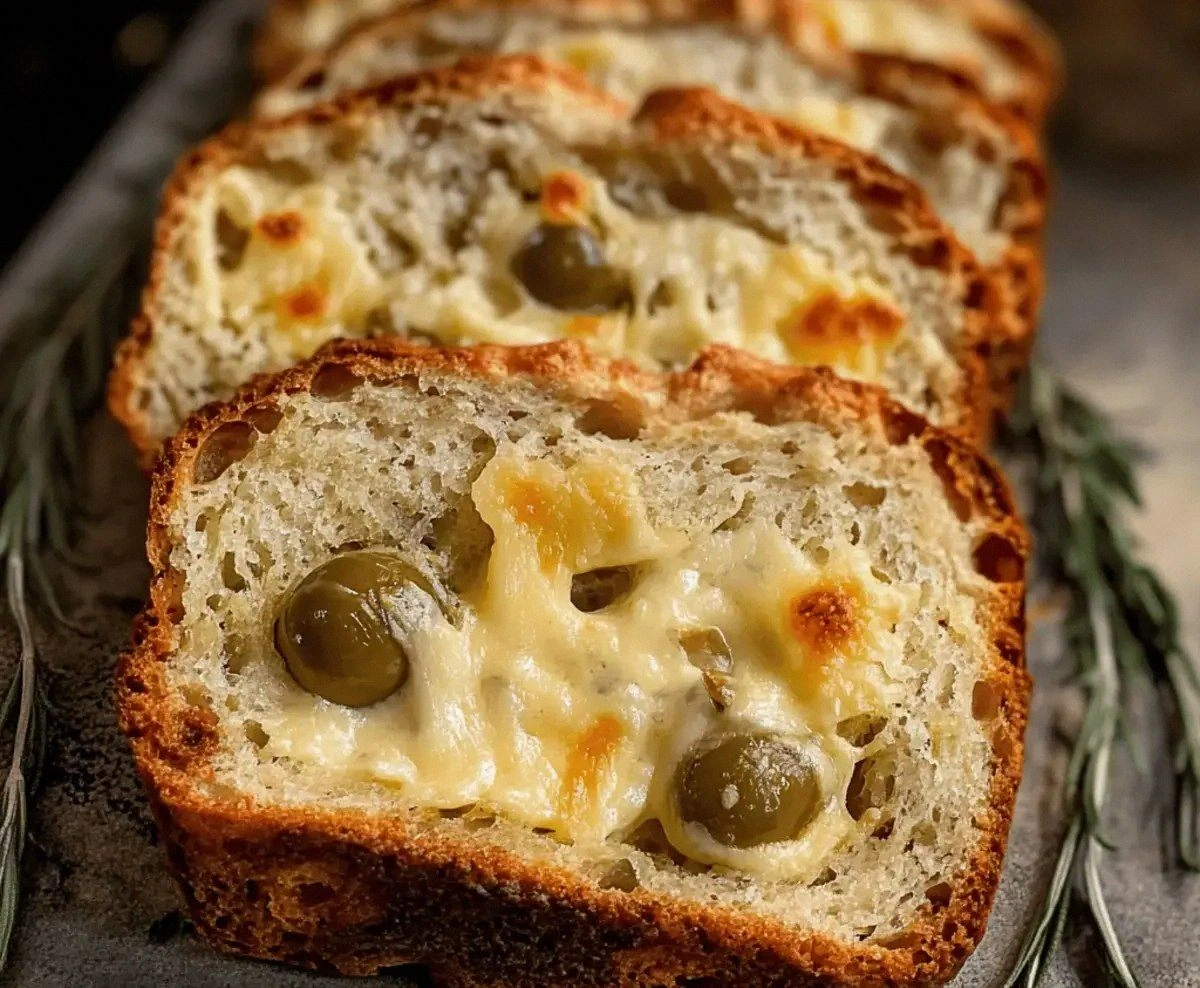
Cheddar & Jalapeño Roll
Add shredded sharp cheddar and finely diced jalapeños to the dough before shaping. The cheese melts into pockets of gooeyness, while the jalapeños add a mild heat. Serve with a side of ranch dip for a Texan twist.
Herb‑Infused Roll
Stir in a tablespoon of chopped rosemary or thyme into the dough. The herbs give a fragrant, earthy note that complements savory stews or roasted meats. The flavor is subtle enough to let the dough’s natural sweetness shine through.
Gluten‑Free Version
Replace all‑purpose flour with a 1:1 gluten‑free blend that contains xanthan gum. Keep the rest of the ingredients the same, but reduce the milk by 2 tablespoons to compensate for the extra dry weight. The texture will be slightly denser but still delightful.
Cinnamon‑Sugar Roll
Add a teaspoon of ground cinnamon and a tablespoon of brown sugar to the dry mix. After shaping, brush the tops with melted butter and sprinkle with a pinch of extra brown sugar. These rolls are perfect for a sweet breakfast or a dessert side.
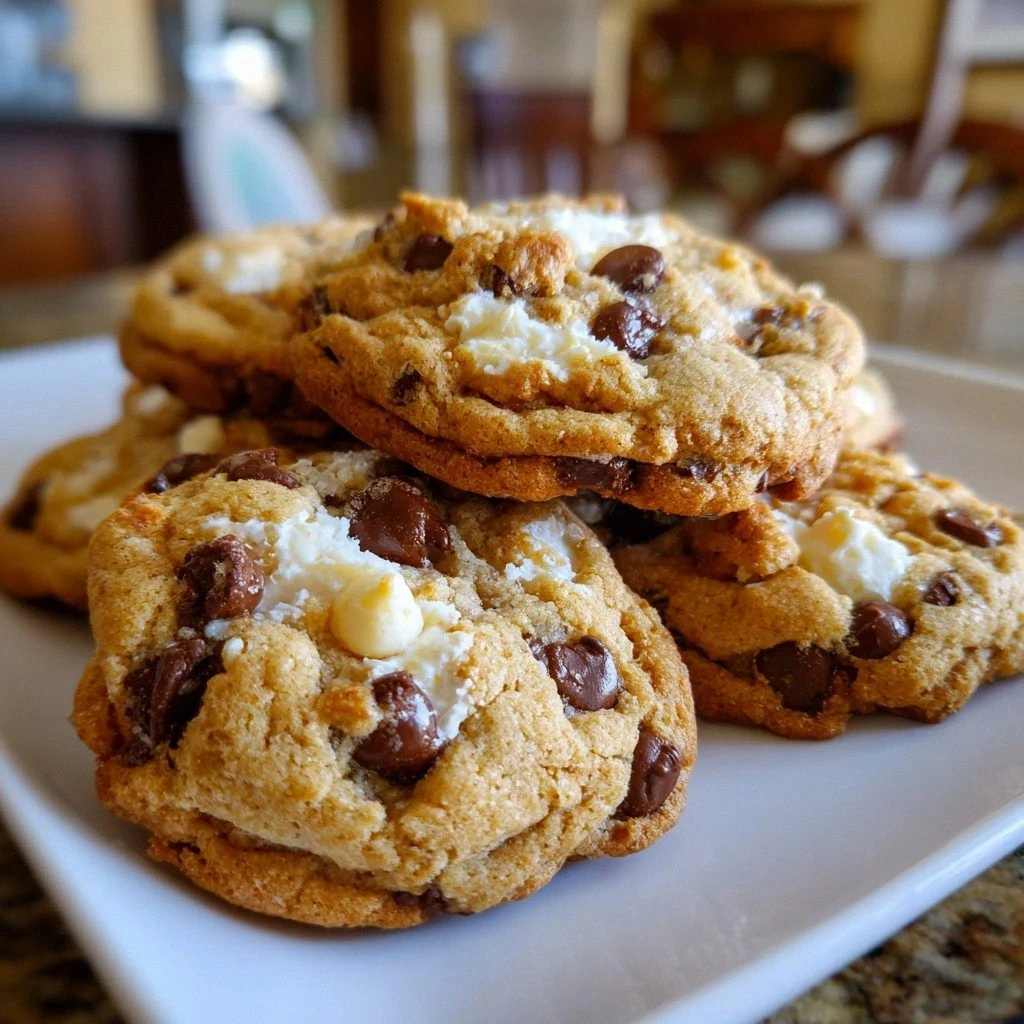
Chocolate Chip Roll
Fold in a handful of chocolate chips into the dough before shaping. The chocolate melts into pockets of gooeyness, creating a decadent treat that pairs well with coffee or milkshakes. Serve warm for maximum indulgence.
Storing and Bringing It Back to Life
Fridge Storage
Store leftover rolls in an airtight container at room temperature for up to 3 days. If you need them fresh, place them in a paper bag before refrigerating to keep the crust from becoming soggy. When ready to eat, reheat in a preheated oven at 350°F for 5–7 minutes.
Freezer Friendly
Wrap each roll tightly in plastic wrap, then place them in a freezer bag. They can stay in the freezer for up to 3 months. When you’re ready, thaw overnight in the refrigerator, then warm in the oven as described above.
Best Reheating Method
The secret to reviving a stale roll is a splash of water. Lightly mist the rolls with water before reheating, then cover them with foil. The steam will soften the crust, restoring that fresh‑baked feel. A quick 2‑minute bake at 375°F is usually enough.