I was in the middle of a midnight snack frenzy when the stovetop exploded, sending a plume of smoke and a handful of burnt chicken into the air. The kitchen smelled like charred ambition, and my taste buds were left high and dry. I stared at the ruined tray, feeling the sting of disappointment that could only be cured by a triumphant comeback. That night, I promised myself I would find a way to turn the ashes into crispy, spicy perfection—an idea that would later become the definitive Air Fryer Hot Chicken.
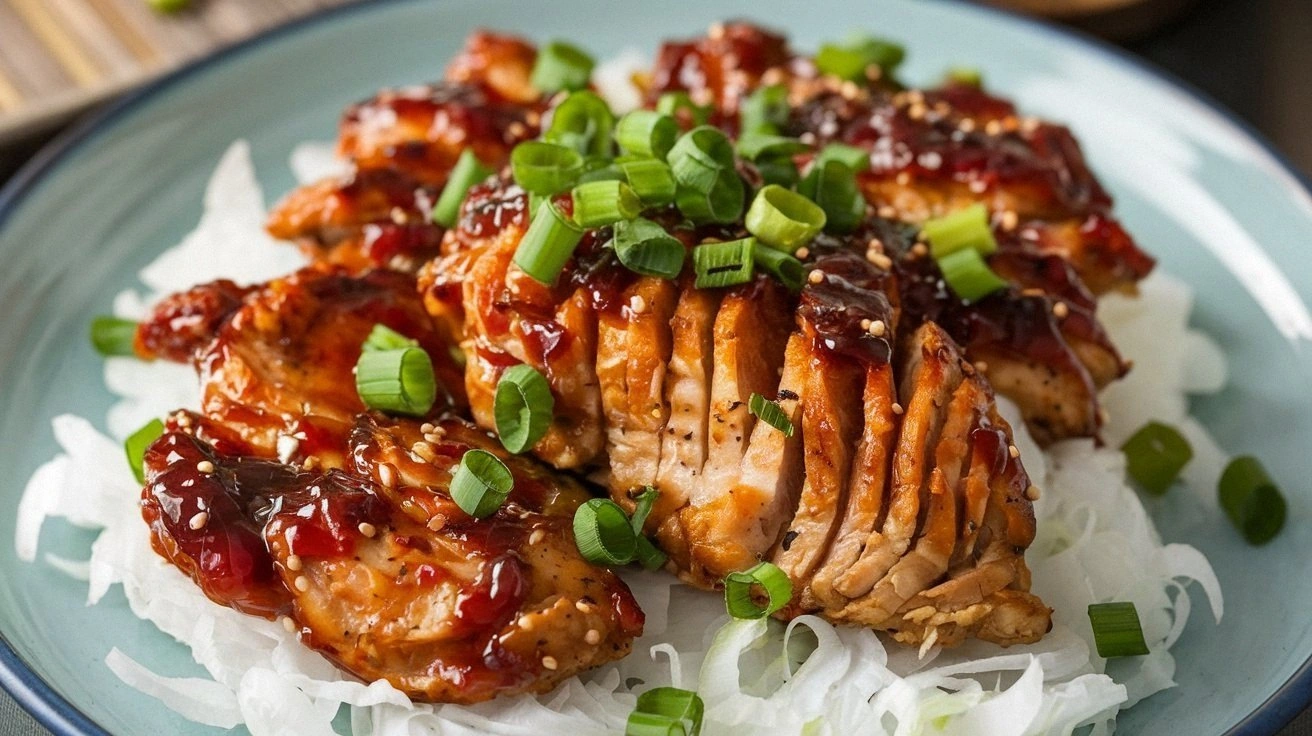
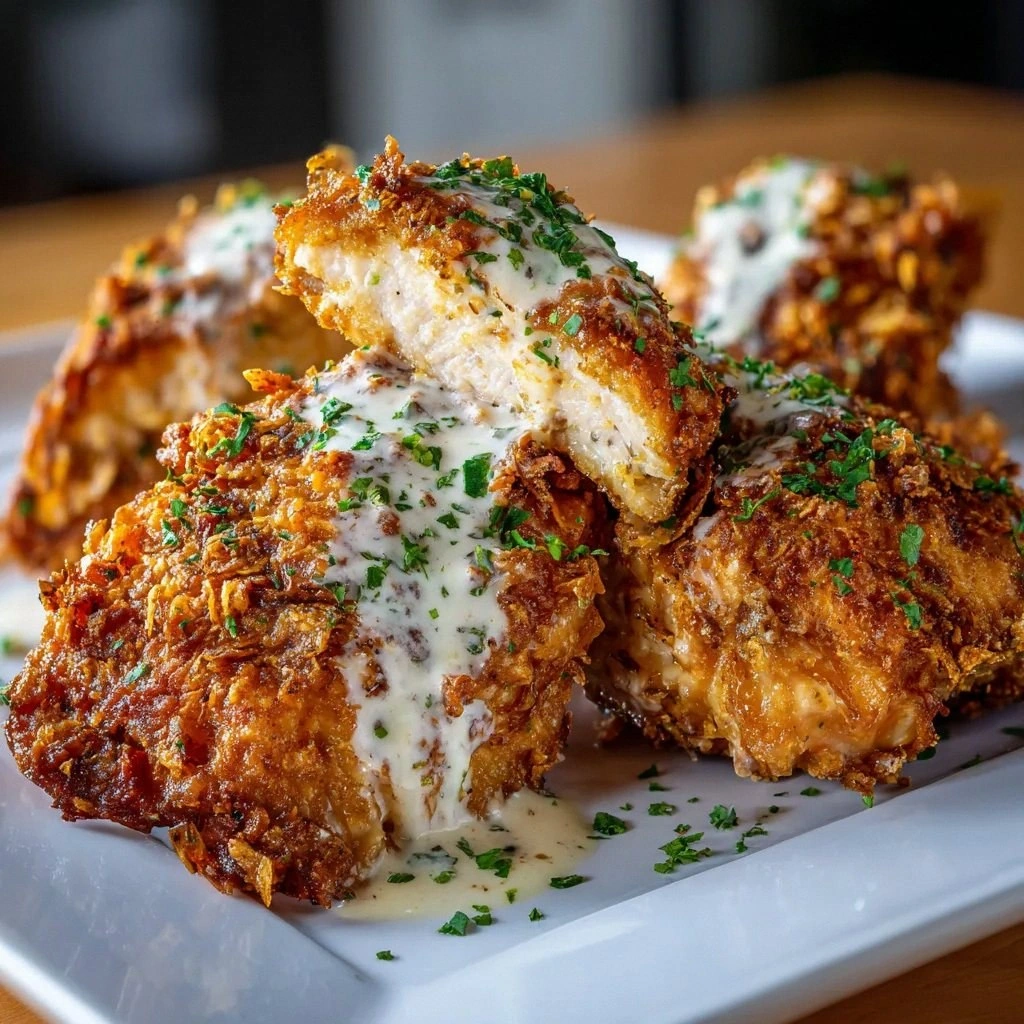
Picture this: the air fryer hums like a contented hummingbird, the chicken thighs glistening with a buttery glaze that catches the light just right. The aroma of paprika and cayenne unfurls, promising heat that lingers on the tongue without burning it. When the first piece pops out, you hear a satisfying crackle, the kind that makes your heart skip a beat. The crunch is like biting into a crisp apple, followed by a burst of savory, smoky flavor that dances across the palate. Every bite feels like a tiny fireworks show—sweet, salty, and fiery all at once.
What makes this version stand out is that I’ve stripped away the fluff and kept the core: tender chicken, a buttery buttermilk soak, and a coating that turns to a golden, peppery shell in minutes. I’ve eliminated the need for deep frying, replacing it with the air fryer’s efficient heat that locks in moisture while creating a skin that shatters like thin ice. I’ve added a secret blend of spices that delivers a punch without overwhelming the natural flavor of the meat. I’ve also included a simple, foolproof method that ensures consistent results every single time. I dare you to taste this and not go back for seconds—your taste buds will thank you.
If you’ve ever struggled to achieve that perfect balance of crispness and juiciness, you’re not alone. I’ll be honest—half the batch was devoured before anyone else even had a chance to try it. Most recipes get this completely wrong, leaving you with soggy chicken that tastes like a forgotten casserole. Here’s what actually works: a quick buttermilk brine, a spice-laden flour coating, and a short, high‑heat air fryer cycle that seals in flavor. Picture yourself pulling this out of the air fryer, the whole kitchen smelling incredible, and the anticipation of the first bite building with every second. Let me walk you through every single step—by the end, you’ll wonder how you ever made it any other way.
What Makes This Version Stand Out
- Flavor: The blend of cayenne, paprika, and garlic powder creates a complex heat that lingers without scorching the tongue.
- Texture: The air fryer delivers a skin that crackles like fresh popcorn, while the interior remains succulent.
- Simplicity: No deep‑frying, no elaborate sauces—just a few pantry staples and a quick brine.
- Uniqueness: The buttermilk soak infuses the chicken with a tangy richness that sets this dish apart.
- Crowd Reaction: Guests rave about the crispiness, and the heat level can be dialed up or down with ease.
- Ingredient Quality: Fresh, high‑quality chicken thighs keep the flavor profile bright and robust.
- Cooking Method: The air fryer’s rapid circulation ensures even cooking and a golden finish.
- Make‑ahead Potential: The brine can be prepared days ahead, making this a stress‑free dinner solution.
Alright, let’s break down exactly what goes into this masterpiece...
Inside the Ingredient List
The Flavor Base
Buttermilk is the heart of this dish—its acidity tenderizes the chicken, breaking down proteins so the meat stays moist. The tang of the buttermilk also complements the heat from cayenne and the smokiness of paprika. Skipping the buttermilk will leave you with a less flavorful bite; the chicken will taste more like plain poultry. If you’re lactose intolerant, try a dairy‑free yogurt or a mixture of milk and a splash of vinegar as a substitute.
The Texture Crew
All‑purpose flour forms the base of the coating, giving the chicken its signature crunch. The flour’s fine particles create a crisp shell that locks in the juices. If you prefer a gluten‑free version, swap the flour for almond flour or a gluten‑free blend, but be aware the texture will change slightly. For an extra crunch, double‑coat the chicken by dipping it back into the flour mixture after the first coating.
The Unexpected Star
Cayenne pepper is the secret weapon that delivers a punch of heat without overwhelming the dish. Adjust the amount to suit your spice tolerance—more for the brave, less for the cautious. Too much cayenne can overpower the delicate flavors of garlic and onion powder, so balance is key. If you’re a fan of extra heat, add a pinch of crushed red pepper flakes during the final coating step.
The Final Flourish
Salt and pepper are essential for seasoning, but they also help draw moisture out of the chicken, which aids in crisping. The cooking spray ensures a golden finish without the excess oil that comes with deep frying. If you’re watching your sodium intake, reduce the salt slightly, but remember that salt is a flavor enhancer that brings all the spices together. A light mist of spray before air frying creates a perfect, even crust.
Everything’s prepped? Good. Let’s get into the real action...
The Method — Step by Step
- Brine the Chicken: In a large bowl, combine 1 cup of buttermilk with 1 teaspoon of salt, 1 teaspoon of pepper, and a pinch of cayenne pepper. Submerge the chicken thighs, making sure each piece is fully coated. Cover and refrigerate for at least 30 minutes, or up to 2 hours for maximum tenderness. The longer the chicken soaks, the more flavorful and juicy it becomes. While the chicken rests, preheat your air fryer to 400°F (200°C) for a quick 5‑minute warm‑up.
- Prepare the Flour Mixture: In a shallow dish, whisk together 2 cups of all‑purpose flour, 1 teaspoon of garlic powder, 1 teaspoon of onion powder, 1 teaspoon of paprika, and 1 teaspoon of cayenne pepper. Stir until the spices are evenly distributed. This dry blend will form the crisp coating that holds the heat. If you want an extra crunch, add a tablespoon of cornmeal to the mixture. Keep the bowl covered until the chicken is ready to coat.
- Coat the Chicken: Remove each thigh from the buttermilk, allowing excess liquid to drip off. Dredge the piece in the flour mixture, pressing gently to ensure a firm crust. Shake off any excess flour before placing the chicken in the air fryer basket. The coating should be thick enough to hold its shape but not so heavy that it becomes gummy. This is the moment of truth—your coating will decide the texture of the entire dish.
- First Air Fry: Place the coated thighs in a single layer, ensuring they do not touch. Spray the tops lightly with cooking spray to help the crust turn golden. Cook at 400°F for 12 minutes, flipping halfway through. The chicken should be golden brown and the internal temperature should reach 165°F (74°C). The air fryer’s rapid circulation will create a crisp exterior while keeping the inside tender.
- Rest the Chicken: Once the first cycle is complete, remove the thighs and let them rest on a wire rack for 5 minutes. Resting allows the juices to redistribute, preventing a dry bite. The crust will firm up slightly, making it even more irresistible. This step is often overlooked, but it’s the difference between good and unforgettable.
- Second Air Fry (Optional for Extra Crispness): For an ultra‑crisp finish, re‑spray the chicken lightly with cooking spray and return it to the air fryer for an additional 3–4 minutes at 400°F. Keep a close eye to avoid burning. The final crunch will be like a freshly popped popcorn kernel, adding a delightful texture contrast.
- Plate and Serve: Transfer the hot chicken to a serving platter and garnish with a sprinkle of fresh parsley or a squeeze of lime for brightness. Serve immediately with your favorite sides—think coleslaw, corn on the cob, or a simple green salad. The heat from the chicken will carry the aroma through the room, drawing everyone to the table.
- Enjoy: Take a bite, let the flavors explode, and watch your friends’ faces light up. Remember, the first bite should be a perfect balance of crispy, spicy, and juicy. The rest will follow naturally, and you’ll be the hero of the dinner party.
That’s it— you did it. But hold on, I’ve got a few more tricks that will take this to another level…
Insider Tricks for Flawless Results
The Temperature Rule Nobody Follows
Many cooks think 400°F is too high, but the air fryer’s high‑heat setting is essential for that golden crust. Keep the temperature steady; fluctuating heat can cause uneven browning. If your air fryer has a “turbo” setting, use it for the first 5 minutes, then switch to standard heat. This approach ensures a crisp exterior while the interior stays juicy.
Why Your Nose Knows Best
Trust your nose when you’re cooking. The moment the chicken hits the air fryer, it should emit a warm, smoky aroma that signals the spices are doing their job. If the smell is weak, it may indicate that the coating isn’t fully distributed, or that the spices have lost potency. Re‑sprinkle a little more paprika for extra aroma.
The 5‑Minute Rest That Changes Everything
After the first air‑fry cycle, let the chicken rest on a wire rack. This brief pause allows the juices to redistribute, preventing a dry bite. A friend once skipped this step and ended up with a soggy crust. The rest period is a small price to pay for a mouth‑watering finish.
The Double‑Coat Trick
For those who love an extra crunch, double‑coat the chicken after the first coating. Dip each piece back into the flour mixture, then into a fresh buttermilk soak, and coat again. This method creates a thicker, crunchier crust that holds up even with the highest heat.
The Timing of the Final Spray
Spray the chicken just before the last 3 minutes of cooking. This ensures the coating stays crisp without becoming greasy. If you spray too early, the oil can seep into the flour, softening the crust. A quick mist just before the finish line gives you that perfect crunch.
Creative Twists and Variations
This recipe is a playground. Here are some of my favorite ways to switch things up:
The Smoky BBQ Version
Swap the paprika with smoked paprika and add a tablespoon of your favorite BBQ sauce to the flour mixture. The result is a sweet‑smoky kick that pairs beautifully with coleslaw.
The Lemon‑Herb Delight
Add a teaspoon of dried thyme and a squeeze of fresh lemon juice to the buttermilk brine. The bright herbaceous notes contrast wonderfully with the heat of cayenne.
The Sweet Heat Fusion
Incorporate a tablespoon of honey into the buttermilk soak and replace some cayenne with a dash of cinnamon. The sweet heat will surprise and delight your guests.
The Mediterranean Twist
Use olive oil instead of cooking spray and season the flour with oregano, basil, and a pinch of sea salt. The Mediterranean herbs will give the chicken a different flavor profile that still keeps the crispness.
The Vegan Alternative
Replace chicken thighs with thick slices of marinated tofu or tempeh. Use a plant‑based buttermilk substitute and a gluten‑free flour blend for the coating. The result is a vegan version that still delivers crunch.
The Breakfast Bonanza
Serve the chicken with a side of hash browns and a fried egg for a hearty breakfast. The spicy flavor pairs surprisingly well with the savory yolk.
Storing and Bringing It Back to Life
Fridge Storage
Cool the cooked chicken to room temperature, then store it in an airtight container in the refrigerator for up to 4 days. The crust may soften slightly, but the flavor remains intact.
Freezer Friendly
Wrap each piece individually in parchment paper and place them in a freezer bag. Freeze for up to 2 months. When ready to reheat, preheat the oven to 375°F and bake for 15 minutes, then finish in the air fryer for 3 minutes to restore crispness.
Best Reheating Method
Add a tiny splash of water to a skillet, then reheat the chicken over medium heat, covering loosely. This steams the interior without drying it out. Finish with a quick air‑fry or oven bake to crisp the exterior again.