Picture this: it’s a chilly Saturday night, the wind howls outside, and you’re scrambling to assemble a side dish that will actually make people say “wow” instead of “again?”. I was in the middle of a culinary disaster—my usual green bean casserole turned into a soggy, flavor‑less swamp that could have been used as a bird bath. I stared at the half‑cooked mess, muttered a curse, and then dared a friend to try it. He took one bite, his eyebrows shot up, and he whispered, “I dare you to taste this and not go back for seconds.” That was the moment I realized the classic had been robbed of its glory, and I set out to resurrect it.
The kitchen filled with the scent of buttered onions and mushroom soup simmering, a perfume that reminded me of Thanksgiving evenings at my grandmother’s house. The clatter of a metal spoon against a stainless steel pan, the soft hiss as the milk met the sauce, the glossy sheen of soy sauce sliding across the surface—all these sounds orchestrated a symphony of comfort. I could feel the heat radiating from the oven, a gentle hum that promised a golden crust waiting to be revealed. My tongue tingled at the thought of the crispy fried onions that would crown the dish, like a fireworks finale for the palate.
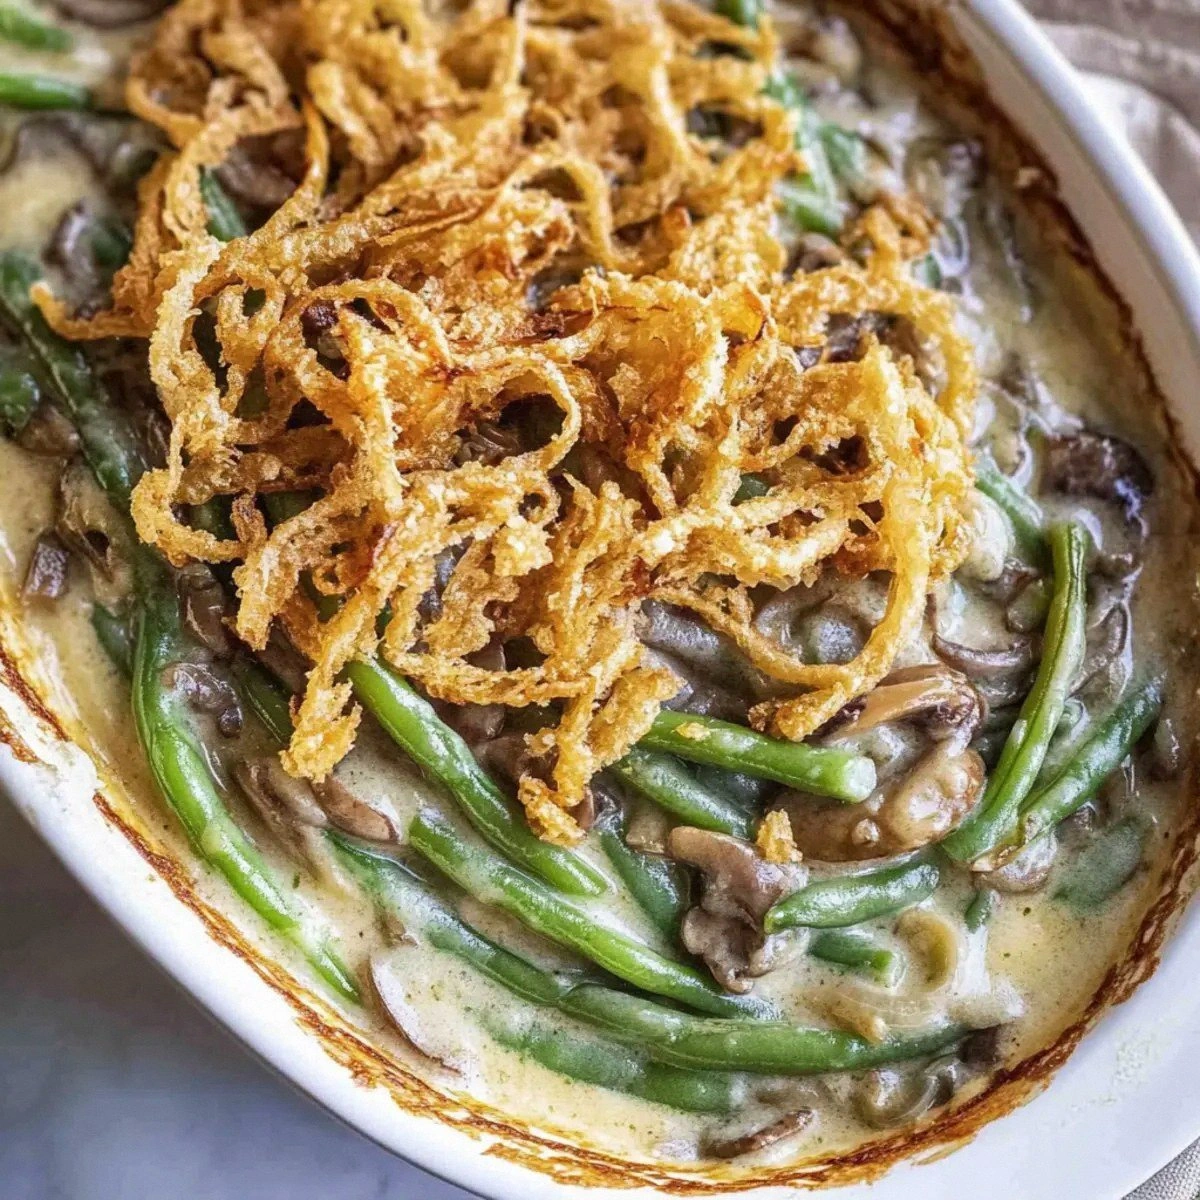
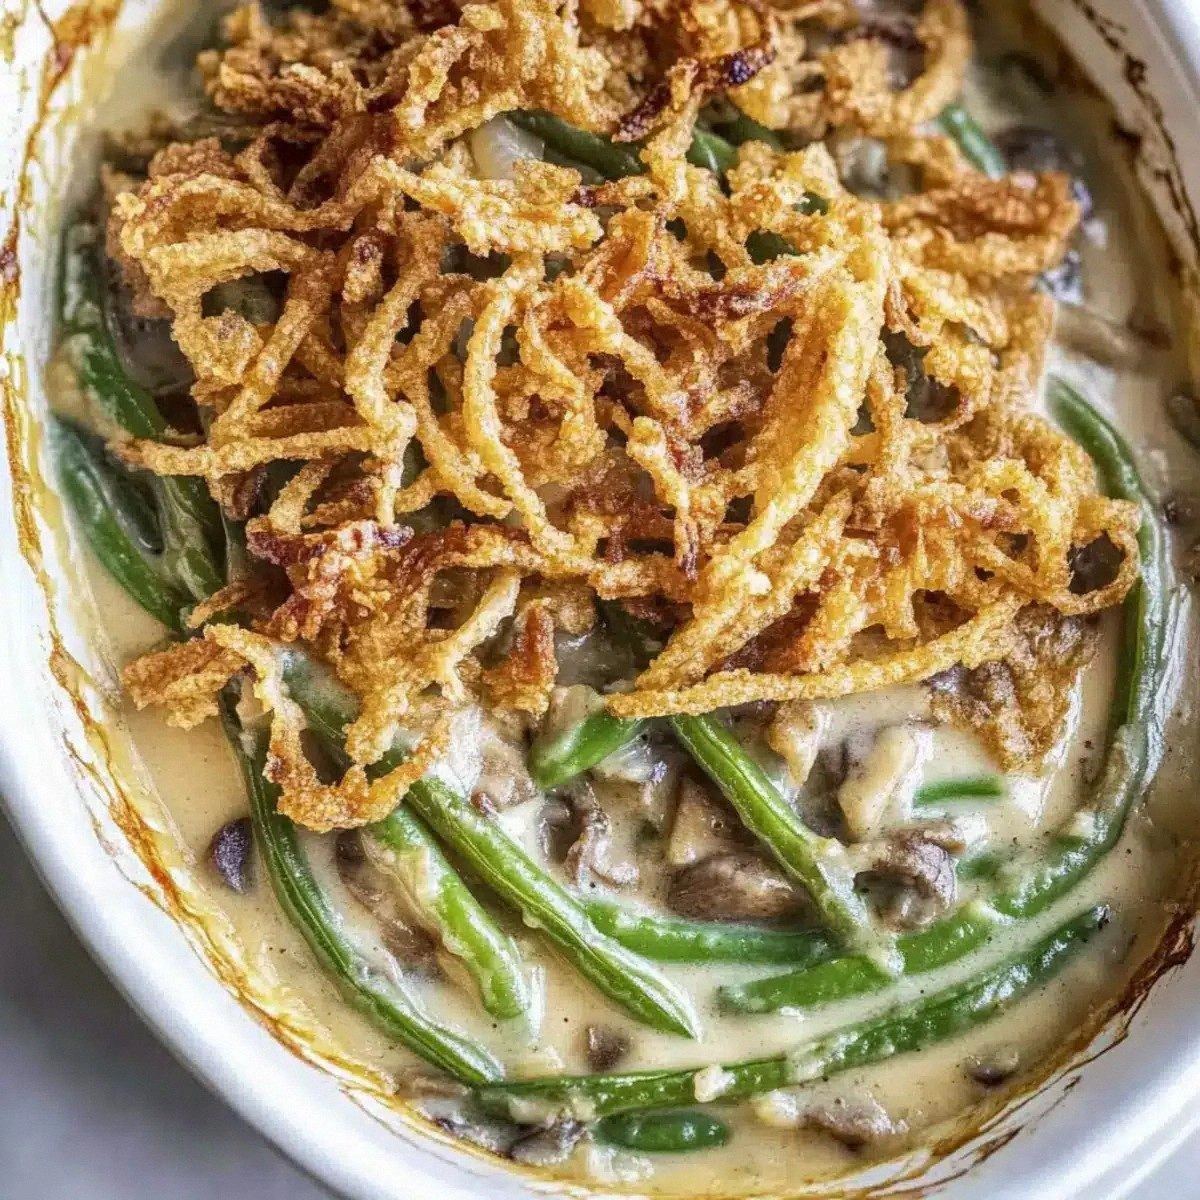
What makes this version the ultimate green bean casserole? First, I combined three textures: the snap of fresh beans, the tender bite of frozen beans, and the nostalgic softness of canned beans. Second, I upgraded the flavor base with a splash of soy sauce, turning the mushroom soup from bland to umami‑rich without any extra effort. Third, I introduced a secret step—pre‑toasting the onions in a dash of butter before the final bake—to give them a caramelized crunch that shatters like thin ice under a spoon. Most recipes get this completely wrong, either drowning the beans in sauce or skimping on the crispy topping. Not this one.
And there’s a twist you won’t see coming: a quick flash‑freeze of the fresh beans before they hit the casserole, locking in that garden‑fresh snap. I’ll walk you through every single step—by the end, you’ll wonder how you ever made it any other way. Okay, ready for the game‑changer?
What Makes This Version Stand Out
- Flavor Explosion: The soy sauce deepens the mushroom soup, giving it a savory backbone that sings.
- Texture Trio: Canned, frozen, and fresh beans each bring their own bite, preventing the dreaded mushy mouthfeel.
- Crunch Factor: Butter‑tossed fried onions create a crown that stays crisp even after baking.
- Simplicity: All ingredients are pantry‑friendly, no exotic spices required.
- Crowd‑Pleaser: Even the most skeptical eaters confess it’s the best version they’ve ever tried.
- Make‑Ahead Magic: Assemble the night before, pop it in the oven before guests arrive, and you’re golden.
- Visual Appeal: A golden, bubbling top that looks as inviting as it tastes.
- Season‑Proof: Works for cozy winter gatherings or a bright summer potluck.
Inside the Ingredient List
The Flavor Base
The star of the sauce is the condensed cream of mushroom soup. This humble can packs a velvety richness that coats every bean like a silk scarf. If you skip it, you’ll end up with a watery mess that looks like a sad, overcooked vegetable medley. For a gluten‑free twist, swap the regular soup for a certified gluten‑free version—just make sure it’s still thick enough to cling.
The Texture Crew
We’ve got three bean players. The canned green beans bring a nostalgic, soft bite that many associate with holiday tables. The frozen beans add a slightly firmer texture and a hint of sweetness that balances the earthiness of the mushrooms. Fresh green beans, when flash‑frozen, contribute that crisp snap that makes you think of spring gardens. If you can’t find fresh beans, a good quality frozen variety will do, but the snap factor will be missing.
The Unexpected Star
Soy sauce is the secret weapon. Just a tablespoon slides in a depth of umami that transforms the soup from bland to bold. It’s the culinary equivalent of adding a pinch of drama to a romance novel. If you’re watching sodium, use low‑sodium soy sauce or a dash of tamari for the same effect.
The Final Flourish
Crispy fried onions are the crown jewel. Their caramelized edges shatter like thin ice, delivering a buttery crunch that contrasts the creamy interior. Skipping them is like serving a tuxedo without a bow tie—still fine, but missing that wow factor. For a gluten‑free version, use a certified gluten‑free fried onion topping or make your own by crisping gluten‑free breadcrumbs with butter.
Everything's prepped? Good. Let's get into the real action...
The Method — Step by Step
Preheat your oven to 375°F (190°C). While the oven warms, line a large pot with water and bring it to a rolling boil. Add the fresh green beans, blanch them for 2 minutes, then immediately plunge them into an ice bath. This shock locks in that garden‑fresh snap. That sizzle when the beans hit the boiling water? Absolute perfection.
Meanwhile, in a large skillet, melt 2 tablespoons of butter over medium heat. Toss in the crispy fried onions and let them toast for 3‑4 minutes until they turn a deep amber.
Kitchen Hack: Add a pinch of sugar while toasting onions; it accelerates caramelization for an extra‑crunchy topping.In a separate saucepan, combine the condensed cream of mushroom soup, whole milk, and soy sauce. Whisk continuously over low heat until the mixture is smooth and begins to thicken—about 5 minutes. You’ll know it’s ready when the sauce coats the back of a spoon without sliding off.
Drain the canned green beans and the frozen beans (no need to thaw). Add all three bean varieties to the skillet with the toasted onions, then pour the mushroom sauce over them. Stir gently, making sure every bean is lovingly coated. If you hear a faint pop, that’s the sauce searing—good sign.
Transfer the bean‑sauce mixture into a 9×13‑inch baking dish, spreading it into an even layer. Sprinkle the remaining crispy fried onions across the top, creating a uniform golden blanket.
Watch Out: Do not over‑mix at this stage; excessive stirring can break the beans and turn the casserole mushy.Slide the dish into the preheated oven. Bake for 25‑30 minutes, or until the edges are bubbling and the top is a deep, caramel‑golden hue. The aroma will fill the kitchen, and you’ll hear a faint crackle from the onions—listen for that, it’s the signal that you’ve reached crispy perfection.
While the casserole bakes, prepare a simple garnish: a handful of fresh parsley, roughly chopped. This adds a pop of color and a fresh herbal note that cuts through the richness. Keep it ready; you’ll sprinkle it the moment the casserole emerges from the oven.
Remove the casserole from the oven and let it rest for 5 minutes. This short pause allows the sauce to thicken a bit more, preventing a soupy spill when you serve. Then, dust the parsley over the top, slice, and serve hot. Picture yourself pulling this out of the oven, the whole kitchen smelling incredible—your guests will be buzzing with anticipation.
That's it — you did it. But hold on, I've got a few more tricks that'll take this to another level...
Insider Tricks for Flawless Results
The Temperature Rule Nobody Follows
Never bake a casserole straight from the fridge. Let it sit at room temperature for 15 minutes before it hits the oven. This prevents the center from staying cold while the edges over‑bake. I once rushed a casserole straight out of the fridge; the result was a soggy middle that tasted like a wet sponge. Trust me, a short warm‑up makes all the difference.
Why Your Nose Knows Best
The moment the onions start to caramelize, your kitchen will fill with a sweet, nutty perfume. If you can’t smell that golden scent, the onions aren’t ready yet. Trust your nose more than the timer; the aroma is the true indicator of flavor development.
The 5‑Minute Rest That Changes Everything
After baking, let the casserole rest uncovered for exactly five minutes. This short pause lets the sauce set, making each slice hold its shape. Skipping this rest is a common mistake—people end up with a sloppy, sauce‑dripping plate that looks like a kitchen accident.
Salt Smart: Season in Layers
Instead of dumping a heap of salt at the end, season each component—beans, sauce, and onions—individually. This layered approach ensures every bite is perfectly balanced. I’ve seen casseroles that taste flat because the salt was only added at the end, leaving the beans under‑seasoned.
Finish With Fresh Herbs
A sprinkle of fresh parsley or chives right before serving adds a bright contrast to the rich, creamy base. The herb’s slight peppery bite awakens the palate and prevents the dish from feeling heavy. If you’re feeling adventurous, a dash of thyme can add an earthy nuance.
Creative Twists and Variations
This recipe is a playground. Here are some of my favorite ways to switch things up:
Cheesy Overload
Stir in 1 cup of shredded sharp cheddar into the sauce before baking. The cheese melts into a gooey ribbon that adds depth and a tangy finish. Perfect for cheese lovers who want extra decadence.
Spicy Kick
Add ½ teaspoon of smoked paprika and a dash of hot sauce to the mushroom mixture. The smoky heat lifts the dish, making it ideal for a winter gathering where guests love a little bite.
Herbaceous Green
Swap half of the soy sauce for a tablespoon of pesto. The basil and pine nut notes brighten the casserole, turning it into a spring‑time side that pairs well with grilled chicken.
Vegan Version
Replace the condensed mushroom soup with a vegan cream of mushroom alternative, use almond milk instead of whole milk, and choose a plant‑based fried onion topping. The result is just as creamy and crunchy, but fully plant‑based.
Southern Comfort
Mix in ¼ cup of crushed pork cracklings (or bacon bits) with the fried onions for a smoky, Southern twist. The extra crunch and smoky flavor will have your guests reaching for seconds.
Gluten‑Free Friendly
Use gluten‑free fried onions and ensure your mushroom soup is labeled gluten‑free. The texture stays intact, and you won’t sacrifice any of the classic flavor.
Storing and Bringing It Back to Life
Fridge Storage
Allow the casserole to cool completely, then cover tightly with foil or a lid. It will keep in the refrigerator for up to 4 days. When reheating, add a splash of milk or water—about 2 tablespoons per serving—to restore the creamy texture.
Freezer Friendly
Portion the casserole into freezer‑safe containers, leaving a ½‑inch headspace. Freeze for up to 3 months. Thaw overnight in the fridge, then bake at 350°F (175°C) for 20‑25 minutes, covered, before uncovering for the final 5 minutes of crisping.
Best Reheating Method
Reheat in a preheated oven at 350°F (175°C) for 15‑20 minutes, covered with foil to keep moisture in. Remove the foil for the last 5 minutes to re‑crisp the onions. Adding a tiny splash of water before reheating creates steam that revives the sauce without making it watery.